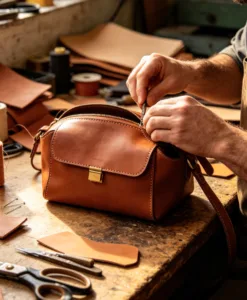
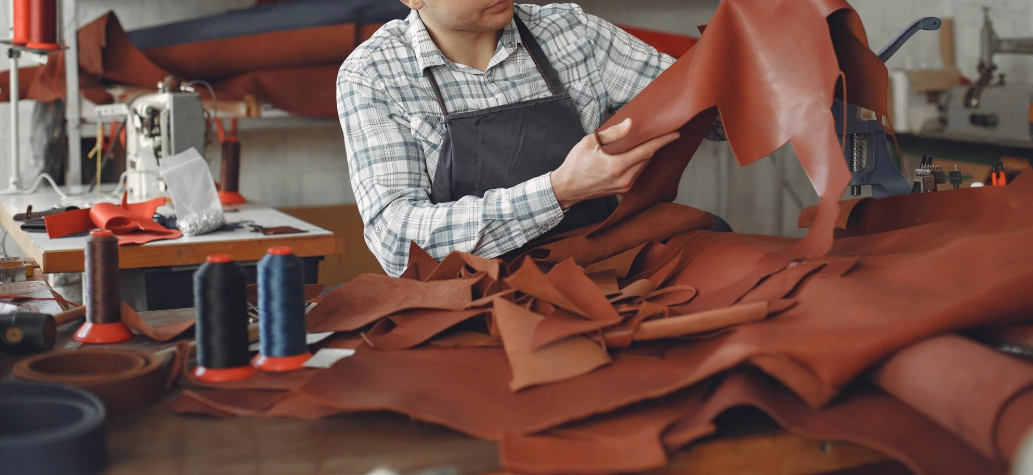
What makes a bag look handcrafted instead of mass-produced often comes down to how the leather is treated before production.
Most buyers overlook this step, but in leather bag manufacture, surface preparation defines texture, durability, and overall feel.
Buffing and sanding are key processes used in OEM leather goods production to control grain consistency and create a refined finish. Done right, they elevate the product. Done poorly, they lead to defects and uneven quality.
This guide explains the process and helps buyers make smarter sourcing decisions.
What Buffing and Sanding Do to Leather at the Fiber Level
Leather isn’t a flat, inert surface. It’s a dense network of interlocked collagen fibers. What buffing and sanding do to that network shapes everything — texture, durability, and finish quality.
Sanding removes material. Buffing rearranges it. That difference sounds simple, but it drives very different outcomes at the fiber level.
How Buffing Works on the Fiber Structure
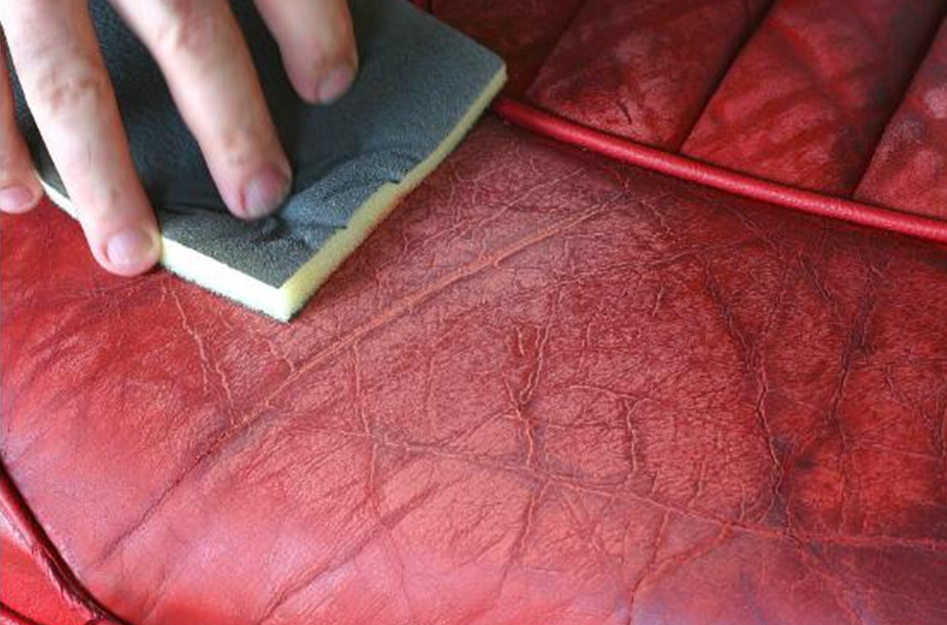
Buffing uses soft tools — horsehair brushes, microfiber cloths — with light, steady pressure. No material comes off. Surface fibers get realigned to reflect light at a consistent angle, which produces a polished, glossy finish.
There’s another benefit too. Buffing spreads natural oils across the fiber network. This keeps fibers from drying out and cracking over time.
Two conditions always matter. First, the leather must be fully dry. Buffing wet leather causes uneven fiber absorption, streaking, and surface distortion. Second, pressure must stay light. Too much pressure scratches fiber surfaces and dries them out faster.
| Sanding | Buffing | |
|---|---|---|
| Material removal | Yes — weakens structure if overdone | No |
| Fiber effect | Opens and exposes fibers | Realigns and smooths fibers |
| Texture result | Matte, velvety | Polished, glossy |
| Oil behavior | Prepares surface for dye penetration | Redistributes existing oils |
One production detail worth noting: for every ton of hide processed, sanding and buffing generate 2–6 kg of fine collagenous dust. That waste carries chromium and synthetic fats. On the bag factory floor, that creates real disposal and compliance responsibilities.
The Three Core Leather Textures Bag Manufacturers Target
Texture isn’t a style decision made in a design room. It’s an engineering outcome. It starts on the bag production floor and shapes every manufacturing step that follows.
Bag manufacturers work with three primary leather textures: pebbled, Saffiano, and smooth/natural grain. Each one is made through a different process. Each behaves differently in construction. And each one carries different implications for durability, logo application, and edge finishing.
Pebbled Leather
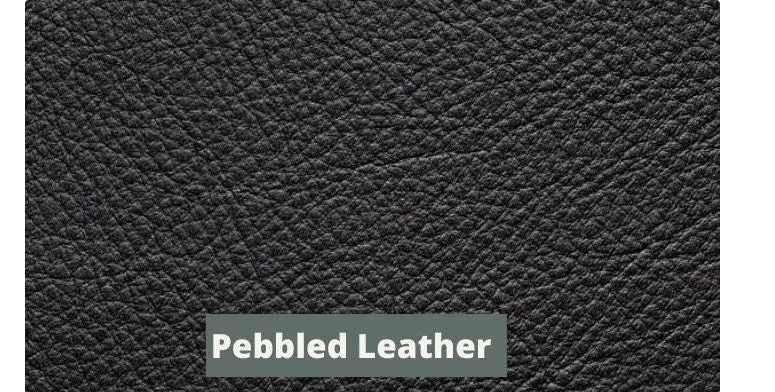
Pebbled texture comes from two distinct bag production methods. Your B2B specs must clarify which one is being used — they don’t behave the same way.
- Embossed pebble: A plate or roller presses a uniform pebble pattern into the grain under heat and pressure. This produces repeatable, consistent texture across production lots — key for panel matching.
- Milled/tumbled grain: The hide goes through drum-tumbling to soften it. The grain becomes more pronounced as a result. You get a random, less uniform pebble pattern with more of a “natural” hand feel.
These differences show up in production. Embossed pebble behaves closer to a protected grain system. Milled pebble keeps more natural character and can develop patina over time. Both versions tolerate panel-to-panel variation well — that’s why pebbled leather often covers minor substrate irregularities and fine handling marks.
One more detail to flag: milled vs. embossed affects skiving, creasing, and logo marking in different ways. Sort this out before cutting begins.
Saffiano Leather
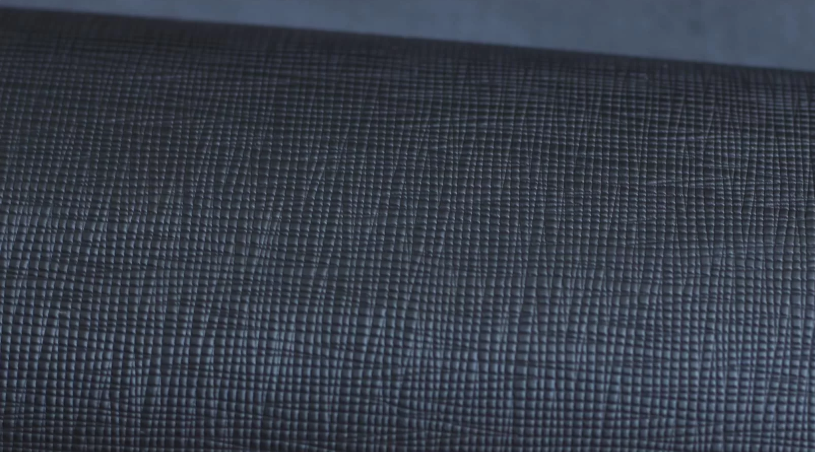
Saffiano starts with a uniform crosshatch stamp pressed into the grain side. Protective topcoats go on top, and these raise resistance to scuffing and staining by a solid margin.
The crosshatch pattern isn’t just a visual choice. It creates consistent light reflection across the surface. Under retail lighting, that gives you a predictable visual identity — which matters for brand consistency at scale.
A critical spec issue to know: “Saffiano” describes a texture, not a substrate. The same crosshatch pattern gets applied to full-grain leather, corrected grain, split leather with coating, and synthetic materials like PU or PVC. B2B contracts must list substrate composition as a separate line item from the texture name. Mixing these two up is one of the most common sourcing errors in bag production.
On the manufacturing side, Saffiano is built for repeatability. A higher topcoat load gives you better rub fastness and more consistent logo application. The tradeoff: it reduces perceived softness and removes any chance of patina development.
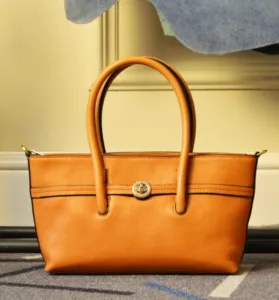
Smooth / Natural Grain Leather

Smooth leather isn’t a single category. Two tanning approaches produce very different materials — and specifying the wrong one creates problems that surface finish alone can’t solve.
- Vegetable-tanned smooth leather: The hide spends weeks to months in plant-based tannin vats. The result is a firm, waxy leather with a living quality to it — it absorbs hand oils, darkens at grip points, and builds an owner-specific patina over time. A well-known example is Buttero from Conceria Walpier in Tuscany: firm, architectural, built for long-term character.
- Chrome-tanned smooth leather: Faster and more cost-efficient to produce. It delivers stable color, resists water and staining, and holds its original appearance without visible aging. Alran Samoa large grain chèvre from France is a solid reference point — supple, color-stable, and stain-resistant.
For manufacturers, the tradeoff is clear: vegetable-tanned gives you long-term character and unique aging. Chrome-tanned gives you production efficiency and consistent lot quality.
How Texture Choice Flows Into Production Decisions
Texture selection doesn’t stop at the surface. It touches the entire manufacturing process:
- Cutting yield: Pebbled surfaces tolerate minor hide imperfections better, so you get more usable panel yield per hide
- Edge construction: Embossed pebble and Saffiano topcoats can crack at tight skive angles — smooth vegetable-tanned handles edge work in a different way entirely
- Logo application: Saffiano’s flat, uniform surface gives the most predictable hot-stamp and deboss results. Milled pebble is the least predictable of the three
- Repairability: High-topcoat systems like Saffiano are hard to touch up in one spot without leaving a visible line. Vegetable-tanned smooth can often be burnished or conditioned back
Quick specification checklist by texture:
– Pebbled — specify embossed vs. milled, coating load, skiving behavior requirements
– Saffiano — list substrate composition as a separate item from the texture name, confirm topcoat hardness and logo application method compatibility
– Smooth — specify tanning method (vegetable vs. chrome), finish type (aniline/semi-aniline/pigmented), patina expectation, and abrasion tolerance threshold
Lock down these details before production starts. That’s the difference between a clean manufacturing run and an expensive correction.
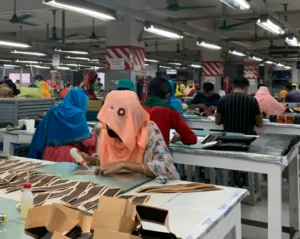
Step-by-Step: The Industrial Buffing & Sanding Workflow in Bag Production
On a factory floor, sanding and buffing follow a strict sequence. Skip a stage or rush a step, and the entire leather surface pays for it. Here’s how the workflow runs in bag production.
Stage 1: Coarse Sanding — Remove the Defects First
Everything starts with the roughest abrasive belt available. The goal at this stage is aggressive material removal. You target surface flaws first — parting lines, porosity, shallow scratches, and uneven grain. All of it needs to come off before finer work begins.
This is not a gentle pass. Aggressive belts remove material 2x faster than fine-grit belts. That speed helps production efficiency, but it also creates risk. Operators must work at an even pace across the full panel. Staying too long on one spot creates low points. Those low points show up under finish coats.
Stage 2: Progressive Grit Refinement
After the coarse pass, the workflow moves through multiple finer grits in order. Each stage has one job: remove the scratch marks left by the previous, coarser belt.
Discipline matters here. Each finer grit removes only the marks from the grit before it — nothing more. Skipping grit steps is a common shortcut. It causes problems later. You end up with fine surface scratches that appear after the finishing coats go on.
For hardware and metal accents — brass fittings, aluminum closures — the final sanding stage lands around P240–P320 before any buffing starts.
Stage 3: Cut-Buffing — Breaking Down the Surface Peaks
Sanding done, the first buffing stage begins. This is cut-buffing. It uses firm sisal-cotton discs or Tampico brushes paired with heavy-cut compounds. Cutting speeds run between 30–45 m/s for metal surfaces.
The effect is precise. Buffing flattens microscopic surface peaks without removing bulk material. You get a smooth, even surface that reflects light at a consistent angle.
One rule covers direction at every buffing stage: work at right angles to the previous sanding or polishing direction. This criss-cross pattern removes swirl marks. Skip it, and circular marks become permanent under the final finish.
Stage 4: High-Gloss Buffing — The Final Surface Pass
The last stage switches to pleated flannel discs or multi-ply quilted cotton buffs. Lighter compounds go on here — rouge or super-finish polish, depending on the substrate. This stage produces a mirror-level sheen on hardware components and a clean, even polish on leather surface zones.
For brass fittings, the sequence runs two to three buffing passes with quilted cotton discs. Heat control matters at this point. Overheating brass causes uneven surface discoloration. No extra buffing fixes that once it happens.
Where Automation Fits In
Manual work is fine for small runs. Industrial bag production, though, runs on automated systems. Consider what each tool handles:
- Robotic sanding and polishing units — flat panels, with consistent pressure and speed
- Vibratory finishing systems — textured edges where manual tools lose even contact
- Water-suspended abrasives — curved handles and sculptural hardware, delivering fine paste finishing without the pressure gaps dry tools create
The sequence stays the same whether the work is manual or automated. What automation adds is repeatability across high volume. Manual buffing can’t guarantee that at scale.
How Buffing & Sanding Improve Bag Durability Beyond Aesthetics
Surface treatment isn’t just about how leather looks on the shelf. Buffing and sanding do real mechanical work. That work determines how long a finished bag holds up under daily use.
Sanding opens the fiber network. Abrasive belts strip away the outer layer. This exposes a more porous surface — one that accepts dye and finish coats with far more uniform coverage than untreated leather. The dye and coating go deeper into the material. So they bond to the substrate instead of floating on top. Coatings that sit on the surface peel. Coatings that penetrate stay.
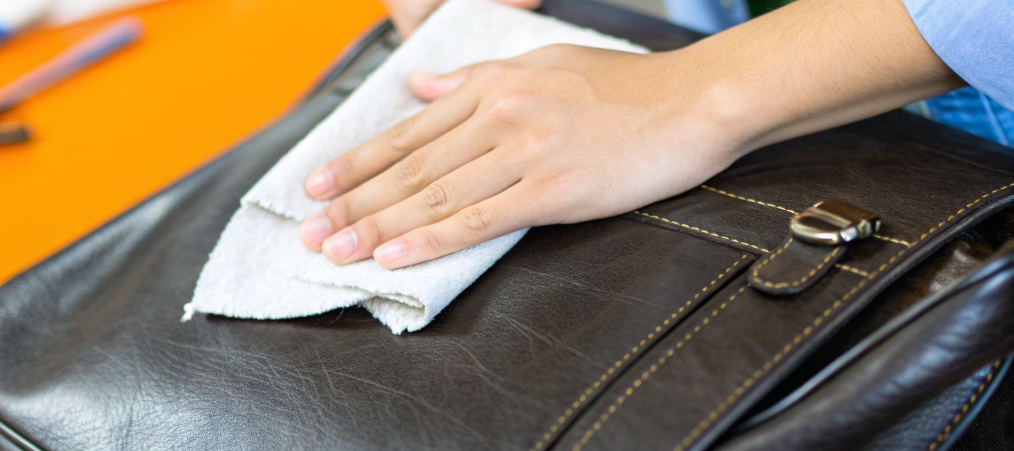
Buffing seals what sanding opens. After abrasion, the surface is raw and exposed. Buffing realigns the open fibers and spreads natural oils across the panel. That oil layer sits between the fiber network and outside stressors — friction, flex, and moisture. It’s a small step that adds real protection.
A few production details show why equipment discipline matters here:
- Buffing speeds between 3,600–7,500 SFPM give you the right surface preparation without wheel collapse. This keeps the process steady rather than aggressive.
- Dust extraction systems extend abrasive belt life by 50%. That supports consistent surface treatment quality across a full bag production run.
- Greaseless compounds in 80–400 grit ranges clear residual surface marks faster than manual methods after sanding is done.
The durability gains from these steps aren’t visible to the end buyer. But you see them over months and years of use — in whether the finish holds, the edges stay clean, and the surface resists the dull, cracked wear that marks low-quality production.
Conclusion
Buffing and sanding do more than finish a bag — they define how leather looks, feels, and performs. Every choice matters. The grit you select, the tool you trust, the order you work through each stage — all of it shapes the final product.
A luxury finish and a defective one are often separated by process discipline. You need to know which texture to target, which equipment to rely on, and where over-abrasion starts before it turns into a rejection pile.
You now have a clear picture of how bag manufacturers use buffing and sanding to control leather texture at each production stage. Put that knowledge to use. Audit your current workflow. Source better abrasive tooling. Brief your manufacturing partner on exact finish specifications.
Leather doesn’t lie. Neither does the process behind it.