How to Control Leather Softness and Hardness? You need a clear plan to control how soft or hard your leather gets. Pros use five main methods to get the texture they want.
| Control Method | Description |
|---|---|
| Mechanical Processing | Physical work changes the fiber makeup.
Staking, milling, and tumbling break the bonds between collagen fibers. This makes the leather softer. |
| Chemical Treatment | Oils and special agents soak into the leather.
They change how the material feels and bends. Fatliquoring compounds give you control over texture. |
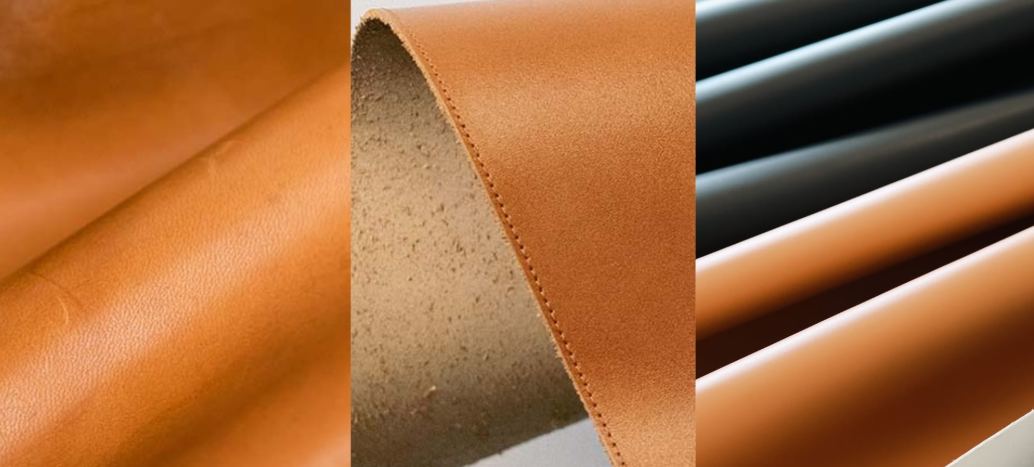
| Tanning Method Selection | Your tanning choice sets the base texture.
Chrome tanning makes soft, flexible leather. Vegetable tanning creates firm, stiff material. Pick the right one from the start. |
| Moisture Management | Water content changes how the leather bends.
Add moisture to make it flexible. Remove water to make it stiff. Control hydration to shift between soft and hard. |
| Heat Application | Temperature work locks in hardness or creates temporary softness.
Case hardening makes leather stay hard. Heat also softens fibers so you can mold them. |
Each method works on its own or with others. Match the right approach to your leather type and goal. Chrome-tanned garment leather acts one way. Vegetable-tanned tooling leather acts another. The same method gives different results on different leathers.
How to Soften Leather Naturally
Leather becomes stiff when its fibers dry out. Natural oils soften leather by entering the fibers and reducing friction, making it more flexible and comfortable.
You can think of leather like dry skin—without oil it feels tight and rough, but once moisturized, it becomes soft and smooth.
Best Natural Oils for Softening
- Castor oil – Professional choice, softens while keeping strength
- Avocado oil – Deep conditioning for dry or old leather
- Flax / soya oil blends – Natural and gentle
- Otter wax blends – Softening plus protection
What to Avoid
- Do not heat suede or nubuck
- New leather usually doesn’t need softening
Water and Moisture-Based Softening Methods
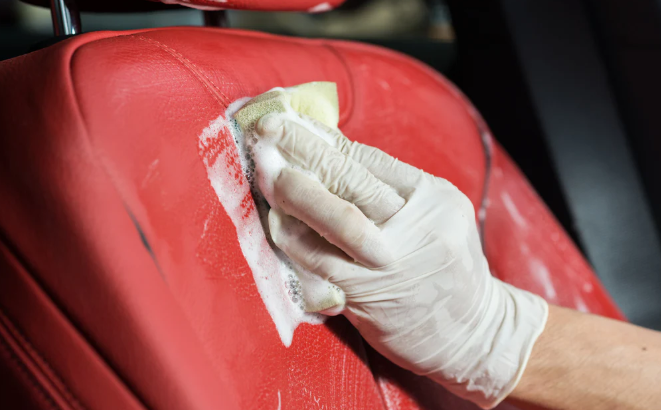
Water changes how leather feels and bends. You can soften stiff leather with just moisture. No oils or chemicals needed. Moisture relaxes the tight bonds between collagen fibers.
Basic Water Softening Process
Grab a spray bottle and fill it with distilled water. Distilled water prevents mineral deposits. Mist the surface lightly. Don’t soak the leather.
Work the damp leather with your hands. Flex it back and forth. Massage the stiff spots. Moisture helps fibers slide past each other.
Let the leather dry at room temperature. Keep working it as it dries. This stops the fibers from locking back into a stiff position. You get leather that stays softer after it dries.
Vapor Treatment for Delicate Pieces
Steam gives you gentler moisture control. Hold stiff leather 12-18 inches above boiling water. Let the vapor reach the surface. Keep it away from direct water contact.
Heat and moisture together relax fibers faster than cold water. This method works great for vintage items. Thin leather that water-stains? Use steam instead.
Critical Timing and Technique
Moisture content matters most. Too little water won’t soften fibers. Too much causes permanent stretching. You might also get water marks.
Test on hidden areas first. Some leather types don’t like moisture. Suede and nubuck need different methods.
Don’t rush the drying. Heat sources reverse the softening effect. Air dry while flexing the leather. This locks in the new texture.
Glycerin and Homemade Solution Uses
Glycerin softens leather by pulling moisture into the fibers, like a sponge absorbing water. This keeps leather flexible, smooth, and less likely to crack. It also helps oils spread evenly, allowing conditioners to work more effectively.
For most leather care, use 5–10% glycerin mixed with water and a natural oil. Lower percentages suit soft bags and garments, while higher levels help very dry or stiff leather. Do not exceed 20%, as too much glycerin can make leather sticky and attract dirt.
Wet Molding for Leather Structural Hardening
Water plus controlled shaping makes leather rock-hard. Wet molding uses moisture to relax fibers for a short time. Compression then locks them into stiff shapes.
Soak vegetable-tanned leather in water until it’s soaked through. The collagen fibers loosen up. Press the wet leather into molds or forms. Shape it around hard objects. Hold it tight while it dries.
Water leaves and the leather hardens. Fibers compress and bond in the new shape. You get lasting stiffness without chemicals.
Tools and Pressure Requirements
Basic wet molding setup:
– Wooden or plastic forms
– Clamps or straps for compression
– Clean water (room temperature)
– Smooth pressing blocks
Keep steady pressure on it while it dries. Uneven pressure makes weak spots. The leather won’t hold its shape under stress.
Drying time depends on thickness:
– Thin leather (1-2mm): 24-48 hours
– Medium weight (2-4mm): 3-5 days
– Thick tooling leather (4mm+): 5-7 days
Air-dry at room temperature. Heat speeds things up but causes cracks. Slower drying gives you harder results.
Best Leather Types for Wet Molding
Vegetable-tanned leather works best. Chrome-tanned leather won’t hold stiff shapes. The tanning process stops fibers from bonding right.
Full-grain tooling leather gives top hardness. It has thick, packed fibers. Armor makers and leather crafters pick 8-10 oz vegetable-tanned leather for pieces that must last.
Compression Molding and Mechanical Hardening
Compression molding hardens leather through extreme pressure and heat. This method works for mass production of stiff leather parts. Makers use it for protective gear, industrial parts, and structured leather goods.
The 7-Step Industrial Hardening Process
Step 1: Prepare the charge – Pre-measure leather material. Pre-heating cuts down processing time. Mix fiber-reinforced resin with leather for stronger bonds.
Step 2: Load the mold – Place prepared material into heated steel or aluminum cavity. Mold temperature runs 290-400°F for thermoset materials.
Step 3: Close and compress – Press 1000-2500 psi across the molded surface. Clamp close speed hits 500-1200 inches per minute. Pressing speed drops to 0-35 inches per minute for controlled compression.
Step 4: Cure under pressure – Keep heat and pressure for 1-5 minutes based on thickness. Chemical cross-linking changes the leather structure. Tin or platinum catalysts speed up the hardening reaction.
Step 5: Cool or continue curing – Thermoplastic leather needs temperature-controlled cooling. Thermoset and rubber-blended materials keep curing under heat.
Step 6: Eject the part – Manual release for simple, low-volume runs. Automated plunger pins handle tough shapes and high-volume production.
Step 7: Trim and clean – Remove excess flash. Clean mold surfaces for the next cycle.
Material-Specific Hardening Results
Thermoset leather treatments create permanent cross-linking. The material won’t dissolve in organic solvents. You get high creep resistance, low heat transfer, and strong electrical insulation. Perfect for industrial uses needing permanent stiffness.
Rubber-blended compression uses pre-heated molds to cut down thickness. Catalysts speed up the curing process. The result? Flexible hardness that keeps some give under stress.
Thermoplastic compression depends on cooling speed. Molten material hardens as temperature drops in controlled molds. Pellets or sheets work better than fiber-reinforced options for this method.
Compression molding gives excellent detail reproduction. Pressure flow captures fine surface textures and tough geometries. The method beats hand-molding for consistent, repeatable hardness across production runs.
Chemical Hardening
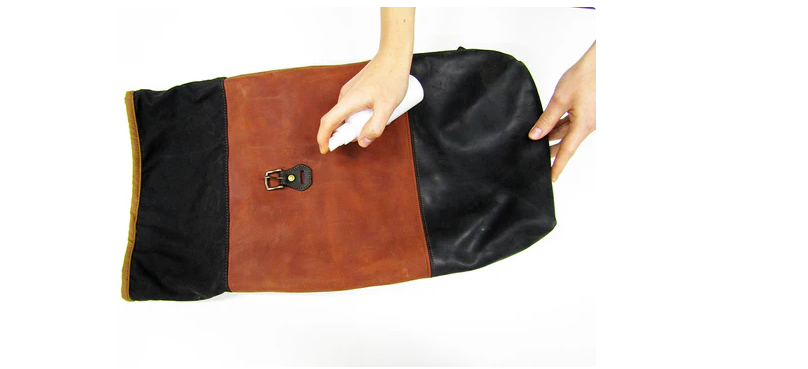
Wax and resin treatments bond with leather chemically. This creates permanent hardness. These methods work better than mechanical hardening for lasting stiffness that won’t soften.
Chemical hardening makes leather stiff by letting waxes or resins bond directly with the leather fibers. Once set, this hardness is long-lasting and does not soften easily over time. This method is best for leather products that must hold their shape, such as structured bags, belts, or protective parts. Compared with mechanical shaping, chemical hardening creates more stable and permanent stiffness, but it reduces flexibility and is not suitable for soft or wearable leather items.
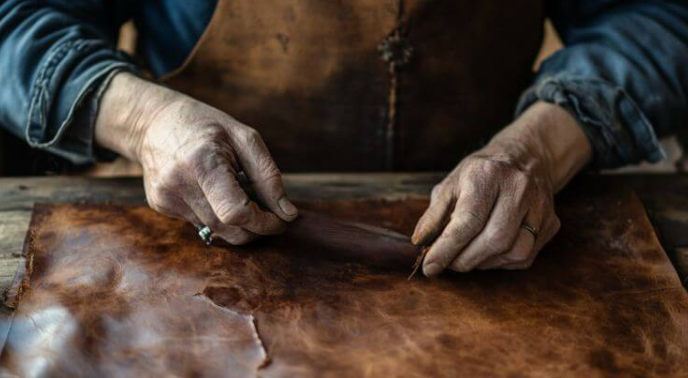
Hands-On Methods
Physical force shapes leather beyond chemicals. Three hands-on methods help you adjust texture after tanning. Each one works on fiber structure in its own way.
Hammering for Targeted Hardening
Hammering packs leather fibers into tight, thick layers. Strike the surface with a rawhide mallet or stamping tool. Each hit pushes fibers closer. The leather gets stiffer in those exact spots.
Tooled leather goods use this most. Belt makers hammer patterns into the surface. The raised designs stay firm. Armor makers strike vegetable-tanned pieces to build hard protective zones.
Watch out for too much hammering. Too many strikes crush fibers past their limit. The leather cracks under stress. Test on scrap pieces first.
Conclusion
Learning to control leather softness and hardness opens up creative options for craftspeople, DIY fans, and leather workers. Restoring a vintage jacket with natural oils? Sculpting armor through wet molding? Getting that perfect texture with conditioners? These techniques give you full control over your leather’s final look and feel.
The key point? Leather texture control isn’t about strict rules. It’s about knowing how different methods work with your specific material. Start gentle for softening—try natural oils or glycerin solutions first. Scale up if you need more. For hardening work, wet molding lets you reverse changes. Chemical treatments make them permanent.
Your next step? Identify your leather type. Define what you want to achieve. Pick the method that fits both. Follow the safety steps we covered. Avoid common mistakes that damage leather quality. Test techniques on scrap pieces first.
What separates amateur work from pro results? Control over leather softness and hardness. You have the knowledge now. Time to practice.