
A canvas tote comes off the line looking perfect—then three weeks later, a customer returns it with the seam blown out at the handle. Sound familiar? Most bag factories don’t have a fray problem; they have a parameter problem. The wrong needle size on nylon, tension set for cotton canvas running on PU leather, or a 3-thread overlock doing a job that needed 4 threads—these small mismatches are why seams that pass QC in the morning fail load testing by afternoon.
This is a shop-floor reference built around the actual failures technicians deal with: raw edge finishing fabric that shreds under nylon fabric overlocking, thread tension adjustment that drifts mid-shift, and the real-world seam strength differences between 3-thread overlock vs 4-thread overlock setups. You get tested needle, tension, and presser foot settings by material, load-tested seam data across stitch configurations, and step-by-step fixes for the five defects that show up most on bag production lines.
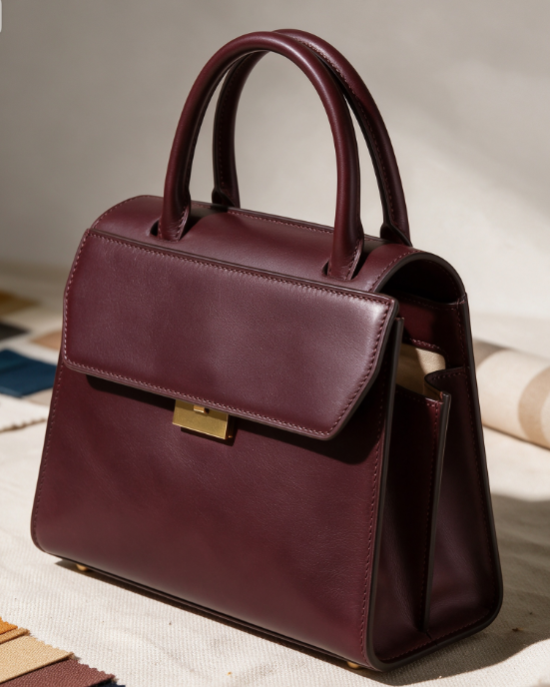
Production Line Failure Cases: Edge Fraying, Seam Slippage, and Overlock Instability
Pull apart a returned bag and the seam usually tells you exactly what went wrong, if you know what to look for. Three failure patterns keep showing up on bag production floors. Each one points to a different root cause in your seam finishing methods.
Edge fraying shows up first as loose yarns escaping the cut edge while the stitch itself stays intact. Left unchecked, it progresses into ladder-like gaps or visible openings near the stitch line. Most QC standards have zero tolerance for open seams. Hems are the only exception, sometimes allowed up to 5/8 inch.
Seam slippage is trickier because the thread never breaks. The yarns in the fabric slide apart alongside an intact stitch line, leaving a permanent gap that looks like an open seam but isn’t. This shows up most on low thread-count wovens, loosely woven structures, or fabrics finished with resin or silicone coatings that make the surface slicker.
Overlock instability is the root failure behind both. When tension, stitch length, or overlock width drift out of spec, raw edges keep fraying past the stitch line, and seam protection fails entirely.
Quick Diagnostic Checks
-
Ladder texture or gaps beside the seam line → check slippage first
-
Loose fibers after overlocking → edge control issue, recheck overlock width
-
Fabric opens, thread stays whole → slippage or insufficient overlock stitching, not a broken-thread problem
-
Thread snaps, fabric holds → tension, needle, or thread-material mismatch
Common Process Triggers
-
Seam allowance too narrow, leaving insufficient grip area
-
Stitch length too low, reducing thread-to-yarn contact points
-
Low thread tension causing seam grin (visible gapping at the stitch)
-
Overlock width too narrow, cutting too close to the stitch line
-
High friction or stretch during cutting/sewing, causing yarn retraction
High-Frequency Fixes
-
Widen the seam allowance for better edge grip
-
Increase stitch density (SPI) for more thread-yarn contact
-
Recalibrate overlock width and trim allowance to eliminate exposed edges
-
Add reinforcement tape or interfacing on high-risk seam sections
-
Switch slip-prone fabrics to bound or flat-felled seams instead of plain seams
Needle, Tension & Presser Foot Pressure Settings by Bag Material for Overlock Machines
Guessing at settings costs more than it saves. Every material on a bag production line — canvas, nylon, PU leather, Oxford cloth — has a specific window for needle size, thread tension, and presser foot pressure. Miss that window and you’re back to fraying edges or blown seams. Here’s the tested reference for overlock needle selection for heavy fabric and lighter bag materials alike.
Parameter Table by Bag Material
|
Bag Material |
Needle Size |
Thread Tension |
Presser Foot Pressure |
Process Notes |
|---|---|---|---|---|
|
Ultra-thin (chiffon, lace, lining) |
70/10 – 80/12 |
Light: needle thread 2.5–4.5, looper 3–5 |
Low / near minimum |
Reduce foot pressure to avoid puckering |
|
Light (cotton, light canvas) |
80/12 |
3–5 needle, 3–5 looper |
Low-to-medium |
Standard pressure suits mid-weight; light fabric needs less |
|
Medium (Oxford cloth, poly bag fabric, canvas, twill) |
90/14 |
3–5 needle, 6–7 at left needle position |
Medium / factory default |
Most bag body panels sit here |
|
Heavy (thick canvas, denim, coarse twill) |
90/14 – 100/16 |
4–5 needle, 4–5 looper (upper range) |
Medium-high to high |
Increase pressure; watch for feed shortage and skipped stitches |
|
Multi-layer/bag base, folded openings, reinforced seams |
100/16 or heavier |
Mid-range, adjusted per seam type |
Near maximum |
Test-sew first; adjust to prevent edge curling |
Quick-Start Settings
-
Thin bag fabric: 80/12 needle, tension 3, low foot pressure
-
Medium bag fabric: 90/14 needle, tension 4, medium foot pressure
-
Heavy bag fabric: 90/14–100/16 needle, tension 4–5, high foot pressure
For canvas bag seam construction, prioritize 90/14 with tension 3–5 and medium foot pressure. On lighter linings, drop to 80/12 with low tension to avoid puckered seams when overlocking nylon fabric. General rule: thin fabric = less pressure, thick fabric = more pressure — most machine manuals set medium pressure as factory default for a reason.
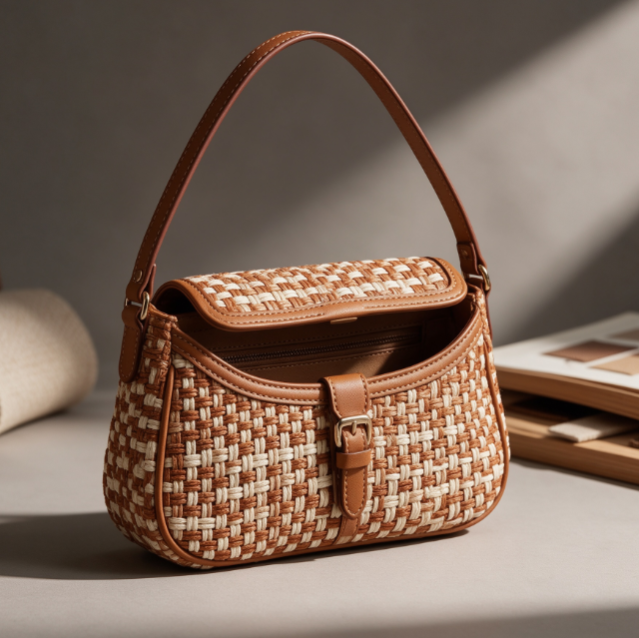
3-Thread, 4-Thread & 5-Thread Overlock: Bag Applications and Seam Strength Testing
Tensile data settles the 3-thread vs. 4-thread overlock debate faster than any opinion on the shop floor. Published test reports consistently rank the same way: 5-thread is strongest, 4-thread comes in the middle, and 3-thread is the weakest. The 4-thread overlock stitch is wider and includes a safety seam, so it outperforms 3-thread in both width and tensile strength. One engineering record shows a 4-thread overlock seam with a seam strength of roughly 428N and a seam efficiency of 67%—a solid benchmark to check your own production line data against.
Choosing the Right Overlock Type Based on Load
-
3-thread overlock: suited for light-duty edges, decorative finishing, and low-stress fabrics
-
4-thread overlock: used on main body seams that need moderate strength and stretch
-
5-thread overlock: used for strap attachments, base seams, and heavy-load bags—anywhere seam failure simply isn’t an option
Setting Pass/Fail Criteria
Industry seam strength testing calls for a 60mm × 60mm sample to withstand at least 100N of tensile force, pulled at a speed of 100±10 mm/min, with a 50mm-wide clamp opening and a 30±2mm clamping depth, stretched to failure with the lowest value recorded. Log the failure mode too—broken thread, fabric tearing, or seam slippage—since whichever happens first sets the bag’s real load-bearing limit. When working on handles, base corners, and other stress points, don’t just count stitches—seam allowance, thread specs, and stitch spacing matter just as much as stitch count.
Industrial Overlock Machine Setup and Test-Sew Confirmation Steps
Skip the setup checklist and every parameter table above becomes useless. Thread a machine wrong or leave it on default tension, and it will fray canvas and skip stitches on nylon no matter what the spec sheet says.
Pre-Run Machine Checks
Before you touch the foot pedal, check that the looper cover is closed and the machine is in test-ready mode. On models with an upper looper on/off switch, set it to position I first. Complete the threading, install the knife/cutter cover, and position the presser foot. Factory default stitch settings work fine as a starting point. For industrial overlock machine settings on a new install, mount the head securely into the table opening, connect the motor and belt, then confirm the power switch is off before making the final connection.
Standard Test-Sew Sequence
-
Power off. Verify installation, knife, threading, foot, and power connections.
-
Set starting tension. Most entry to mid-range machines default to 3 or 4 on all tension dials.
-
Close looper cover. Confirm cutter position and upper knife status.
-
Load two-layer test fabric. Align the raw edge against the cutter.
-
Run at low speed. Sew 10–20 cm and observe the stitch.
-
Inspect stitch, tension, cut width, edge flatness.
-
Adjust and repeat until stitching stabilizes.
Always test with two layers of fabric, not one. This is the only way to catch tension imbalance between needle and looper threads at the same time.
What to Check After Test-Sewing
-
Stitch evenly wraps the raw edge, no skipped stitches, no puckering.
-
Needle and looper thread tension are balanced. Loosen tension dials counterclockwise if too tight, tighten clockwise if too loose.
-
Cut edge width is consistent. Adjust knife position if needed.
-
Thread chain at the end sews off clean, no loose tails.
If fabric thickness varies across your production run, burn through scrap of the same material and thickness first. Test at low, medium, and high speed before running the actual bag panels. A machine that holds tension at low speed can still walk fabric at high speed.
Diagnosing and Adjusting the 5 Most Common Overlock Defects
Five defects account for nearly every overlock complaint on a bag production line. Fix them in this order: threading and needle position first, then looper tension, differential feed, presser foot pressure, and cutter width. You’ll clear most problems without tearing the whole setup apart.
Defect 1: Upper Looper Thread Shows on the Face / Uneven Wrap
Loose upper looper tension (or a too-tight lower looper) keeps the loop from settling on both sides of the raw edge. Fix: tighten the upper looper tension clockwise slightly, or loosen the lower looper counterclockwise. Adjust in half-to-one-notch increments and re-test each time.
Defect 2: Lower Looper Thread Shows on the Back / Edge Not Fully Wrapped
The lower looper is too loose, so the edge rolls outward instead of staying wrapped. Fix: increase lower looper tension by 0.5–1 notch, easing the upper looper slightly if needed until the loop covers the cut edge evenly.
Defect 3: Needle Thread Visible on the Face
Insufficient needle thread tension prevents the stitch from pulling tight to the fabric edge. Fix: raise tension gradually from mid-setting. If thread is still visible, recheck threading order and needle installation.
Defect 4: Puckering or Wavy Seams
Usually a differential feed or presser foot pressure mismatch — common on knits. Fix: raise differential feed toward “anti-stretch” if fabric is stretching, lower it if puckering; reduce foot pressure; test on scrap before committing to full runs.
Defect 5: Thread Breaks, Skipped Stitches, Bent Needles
Root causes: mis-threading, wrong needle position, bent needle, cutter/edge too tight, or unsynced mechanisms. Fix: rethread, swap in a fresh needle matched to fabric weight, check needle bar and looper alignment, then test-sew before resuming production.
Quick reference: face-side loops = upper looper loose; back-side loops = lower looper loose; loose stitch = needle tension low; wavy edge = feed/pressure issue; frequent breaks = check threading and needle first.
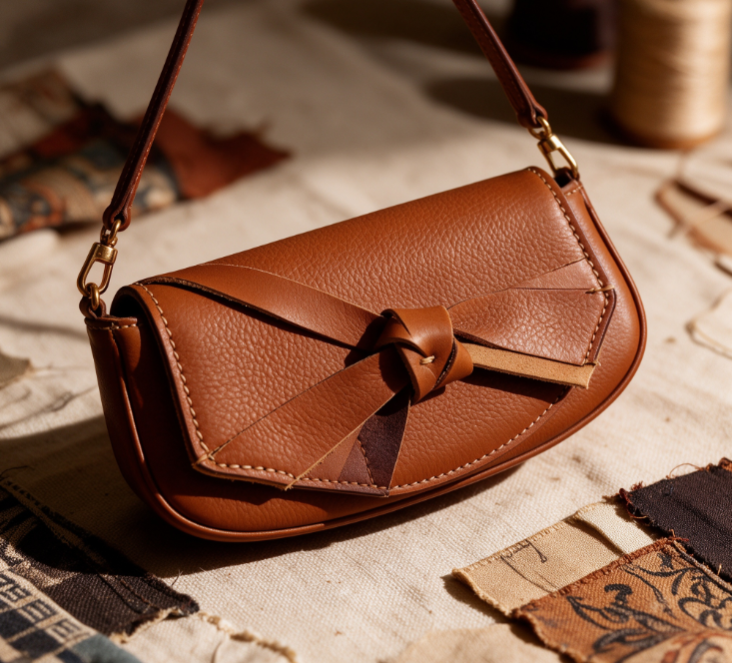
Edge-Binding Process Card for Canvas, Nylon, PU Leather, and Oxford Fabric
Stitch length separates a durable bound edge from one that tears at the first pinhole. That’s the biggest lever on this workstation, and it changes by material.
Stitch Length and Machine Setup by Material
-
Thin nylon/polyester (70D–210D): 2.5–3.0 mm, roughly 8–10 SPI. Shorter length protects thin weaves from tearing at needle holes.
-
Medium canvas/Oxford (600D–1000D): 3.0–3.5 mm, 7–8 SPI. Balances speed with edge strength.
-
Soft PU leather: 3.0–3.5 mm, 7–8 SPI, but avoid pushing stitch density too high. PU tears at the perforation line, not the seam.
-
Heavy 18oz canvas: 8–10 SPI with Tex 80+ polyester or nylon thread. Anything lighter loses grip on thick weaves.
Machines: flat-bed and overlock machines handle straight runs; cylinder-arm machines work better on curved bag mouths and corners.
Material-Specific Process Notes
-
Canvas/Oxford: bind first, then straight-stitch or overlock the wrapped edge. Binding tape thickness: 0.8–1.2 mm (2–3oz). Miter corners cleanly, with no bunching or flared points.
-
PU leather: skip aggressive high-density overlocking. Use edge binding, folded-and-pressed edges, or coated edges instead. Keep needle holes away from the raw edge to prevent cracking.
-
Nylon: heat-seal or bind raw edges first if they fray easily, then stitch. Shorter stitch length prevents hole-pull-through on thin weaves.
Quality Checkpoints
-
Binding width consistent along the full seam
-
Stitch line straight, no skipped stitches, no loose threads
-
Corners flat, no stacked material, no curling
-
Thread ends secured, nothing exposed
Serger Stitch Configuration for Different Parts of a Bag
Not every seam on a bag carries the same load, so it doesn’t need the same stitch. Matching serger stitch types to the actual part of the bag separates a factory-grade build from a seam that fails exactly where customers stress-test first: the corners, the handle base, the pocket opening.
Position-by-Position Configuration Table
|
Bag Part |
Stitch Type |
Seam Allowance |
Notes |
|---|---|---|---|
|
Main side seam |
3-thread overlock |
1.0–1.5 cm |
Standard edge finish, right sides together, then overlock in one pass |
|
Bottom seam |
3-thread or 4-thread |
1.0–1.5 cm |
Switch to 4-thread when the bag carries heavier load |
|
Pocket bag edge |
3-thread overlock |
1.0 cm |
Extend stitching ~3 cm past the opening on each side to prevent fraying |
|
Bag mouth / lining fold |
Bound edge + topstitch |
— |
Fold and press first, overlock the raw edge, then topstitch |
|
Box corners |
Straight stitch, then overlock |
2.54–5.08 cm from tip |
Fold corner into a triangle, stitch, then clean the trimmed edge |
|
Handle attachment |
Straight stitch, 3 passes |
— |
Reinforcement comes from multiple straight lines, not overlock |
The Logic Behind Stitch Selection
3-thread overlock stays the default for side seams, bottom seams, and pocket bag edges. It’s fast, clean, and enough for low-to-medium stress zones. 4-thread overlock earns its place wherever seam and edge finish need to happen together under higher load, like the main body seam on an outer bag. Straight lockstitch (301) never replaces overlock for edge control, but it’s the go-to for handle bases, patch pockets, and topstitching where pure mechanical strength matters more than a clean raw edge.
For bag lining stitching techniques, the fold-then-overlock sequence at the bag mouth matters more than stitch count. Fold and pin the opening first, overlock the remaining raw edge, then topstitch the fold. This “folded edge + inside overlock” combination shows up repeatedly on lined totes and structured bags.
Box corners need their own logic. Fold the bottom corner into a triangle, stitch 1 inch or 2 inches from the point depending on bag size, then overlock the trimmed edge near the cut. Skip that last step and the corner opens up after a few load cycles. It’s one of the more common warranty complaints on structured totes.
Binding attachments (pocket welts, bag mouth trims, edge tape) benefit from a binding foot with a guide slot. It keeps edge distance consistent pass after pass, which matters more on binding tape than raw overlocking since any drift shows immediately on a folded edge.
Overlock Machine Models and Production Line Configuration for Bag Factories
Buying one overlock machine to cover every bag material is the fastest way to bottleneck a production line. Pegasus builds its industrial overlock machine settings around fabric weight, not general-purpose flexibility, and the model range reflects that.
Model-to-Material Matching
-
Thin-to-medium fabric, high-speed lines: EX5203-22/233 (8500 sti/min), EX5204-22Z2/213 (8000 sti/min), FW603S-GB (4500 sti/min)
-
Medium-heavy canvas, backpacks, totes: EX5204-24/445, EX5214-24/445, WT264P-03G (5000–6500 sti/min)
-
Heavy/extra-heavy, stress-bearing edges: W664P-03L, FW803-V (3500–6000 sti/min)
-
Curved or small-part edges: LSN-420 for small pieces, LSN-430 for long panels, LSN-410 for mixed runs
Line Configuration by Order Type
Position the overlock station after cutting, before seam assembly, because catching fraying before it hits the sewing line saves time. A single-category factory can cover most bag parts with one high-speed machine, one heavy-duty machine, and one curved-edge unit. Multi-SKU factories should run three tiers: thin, medium, heavy. Yamato’s touchscreen and Teflon-bed automated overlockers are worth benchmarking if automation is the goal.
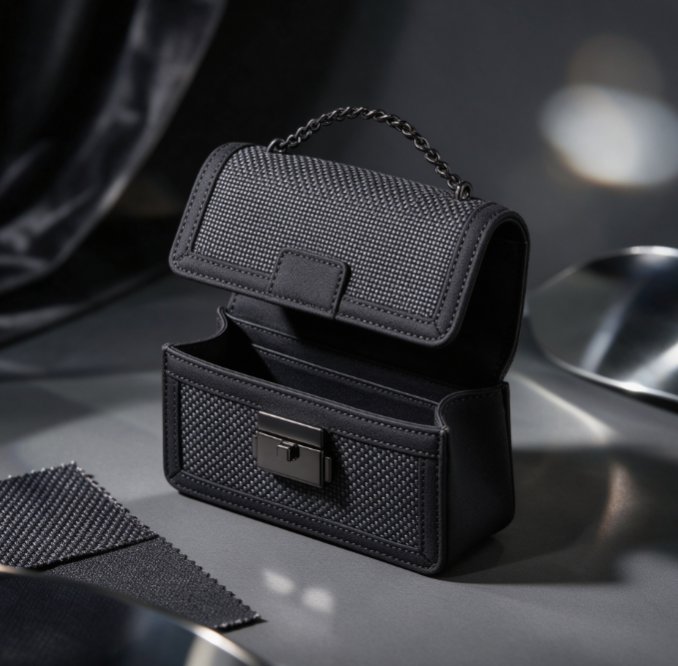
Overlock Seam Strength, Appearance, and Mass Production Release Standards
A garment passes QC in the morning and fails a customer’s stress test three weeks later, usually because nobody defined the acceptance rules before production started. Mass production release should never hinge on a single number. Seam strength and appearance compliance both need sign-off against buyer-defined thresholds.
Strength Testing Standards
-
ISO 13935-2:2014 — grab test, force applied perpendicular to the seam until failure, reported in N
-
ISO 13935-1:2014 — strip test, same perpendicular loading, different sample prep
-
Standard parameters: 100 mm jaw length (or 75 mm by agreement), 50 mm/min pull speed, minimum 5 specimens per direction
-
Breaks within 5 mm of the jaw get flagged as jaw break, not seam failure
Strength Thresholds by Product Category
-
Light shirts/dresses: 250–350 N
-
Pants/workwear: 350–500 N
-
Heavy outerwear, structural bag components: 500 N+
-
Target seam efficiency ≥80% regardless of category
Appearance and Post-Wash Grading
Check for puckering, wave patterns, skipped stitches, loose threads, exposed raw edges, and symmetry against the pattern. Post-wash appearance gets rated per ISO 7770, with Grade 4 or better as the common release bar.
Sample Release Clause
Seam max force ≥ X N, seam efficiency ≥80%, post-wash appearance ≥ Grade 4, zero tolerance for skipped stitches, puckering, exposed edges, or seam failure ahead of fabric tear.