
A batch of straps failing at the anchor point six weeks after delivery shows up on the QC report long before it shows up in a customer complaint. It’s a stitch selection problem, not a fabric problem. If you’re setting acceptance standards for custom leather bags or pushing back on a factory’s sample stitching, telling them “use box stitch” or “use bar tack” isn’t specific enough to prevent the next return.
You need to know which reinforcement pattern holds under which load. A 30 kg strap pull behaves nothing like a hardware D-ring under constant torque. A flap corner sees different stress entirely. This guide breaks down box stitch vs bar tack across the pressure points that fail most often — straps, buckle loops, hardware terminations, flap corners — with stitch density benchmarks and failure cases you can hand straight to your factory floor.

Load Distribution: Why Box-X Usually Wins on Primary Bag Anchors
A shoulder strap tab gets yanked sideways while the bag swings, twists, and drops onto a shoulder fifty times a day. That’s multi-directional pull, and the box stitch pattern leather anchor is built to survive it.
The Box-X pattern is a rectangle with a diagonal X stitched through the middle. It spreads load across the entire stitched footprint. Vertical, horizontal, and diagonal thread paths all share the pull. When a D-ring anchor gets tugged, twisted, and cycled thousands of times, that combination matters far more than raw thread count.
Box-X consistently outperforms on heavy-duty grab handles, wide shoulder straps and webbing loops, MOLLE/PALS-style anchor points, and flat load-bearing anchor plates.
Some manufacturer guides claim Box-X runs 2–3 times stronger than a simple box stitch and roughly 10 times stronger than a single-line seam, though actual numbers shift with material, thread gauge, and stitch density. A typical shoulder strap anchor spec calls for a two-pass X-box pattern, adding roughly 30% more stitch count than a basic reinforcement layout. The extra coverage is deliberate; Box-X gets paired with internal webbing backing or Hypalon reinforcement on strap anchors that see constant flex.
For custom leather bags, the decision rule is straightforward. If the anchor is broad and the material stack can absorb a wider stitch footprint, specify Box-X. If the load is concentrated on a small anchor pad, a bar tack stitch machine setup does the job better. That is what the next section covers.
Box Stitch vs Bar Tack Under a 30 kg Leather Bag Strap Load
Numbers settle this faster than opinions. A 30 kg working load on a leather bag strap means repeated jerks, shoulder drops, and dynamic pulls that spike well past the rated weight. Raw load figures only tell half the story.
Pull-test data from comparable strap applications gives you real benchmarks. Cross-box stitching on 32 mm flat cotton webbing rates to 35 kg (77 lb). Reinforced box stitching on padded rope held 30 kg (66 lb). Industrial bar-tack stitching on polyester seatbelt webbing pushed to 50 kg (110 lb) – but that’s on a short, concentrated stress zone, not a full strap attachment.
One forum pull-test on sewn webbing recorded a box stitch holding steady to 600 lb, with failure at around 700 lb. The webbing tore before the stitch did. Stitch strength outlasted material strength.
Safety-critical strap design applies a 3:1 to 7:1 safety factor over expected working load. For a 30 kg strap, your attachment should break-test at roughly 90–210 kg.
Spec Guidance for a 30 kg Strap
-
Primary attachment: box-X or multi-row box stitch pattern leather
-
Secondary reinforcement: bar tack at strap ends or stop points only
-
Target break strength: 90 kg minimum, higher for repeated dynamic carry
-
Seam length rule (Sailrite heuristic): sewing area ≈ 3× webbing width for 1″ webbing, with seam strength roughly stitches-per-inch × thread strength × 1.5
Bar tack alone on a full strap anchor concentrates load into a small footprint. It’s fine as backup but risky as the sole attachment.
Strap Anchors, Handle Bases, and Webbing-to-Body Joins: Use the Wider Box-X Footprint
Factory floor sizing for a box stitch pattern leather join isn’t guesswork. Most sourcing guides land on 20–30 mm square footprints for 25 mm / 1″ webbing — think 20×25 mm, 25×25 mm, or 30×30 mm depending on load. Fold-back tails on strap terminations run 30–60 mm, with stronger builds pushing to 35–45 mm or even 40–60 mm before the box-X locks it down.
Stitch density is where quality control lives. Machine passes tighten to 3–4 mm stitch length for dense reinforcement; hand-sewn hole spacing runs 4–6 mm. For load-bearing hardware attachment stitch work, spec sheets call for 6–8 passes per side on a 25 mm webbing box, then two diagonal passes crossing the X. Heavier constructions double each diagonal.
Thread and needle specs matter more than most factories admit. Bonded polyester thread in the Tex 40 / #69 range, paired with a #16–18 (100–110) needle, is the standard for heavy duty leather stitching techniques on webbing joins. Keep the stitch line about 1/8 inch from the webbing edge. Closer, and the box loses the material margin it needs to hold.
Sequencing and Handle-Specific Variants
The correct build order: align webbing to body, stitch the outer box, run the X, then lock with backstitching. For top handles, pair X-box at the base with a top-edge bar tack — that combination outperforms either pattern alone. For repair or retrofit joins, a compact 1″×1″ box-with-X benchmark works on totes and packs where space is tight.
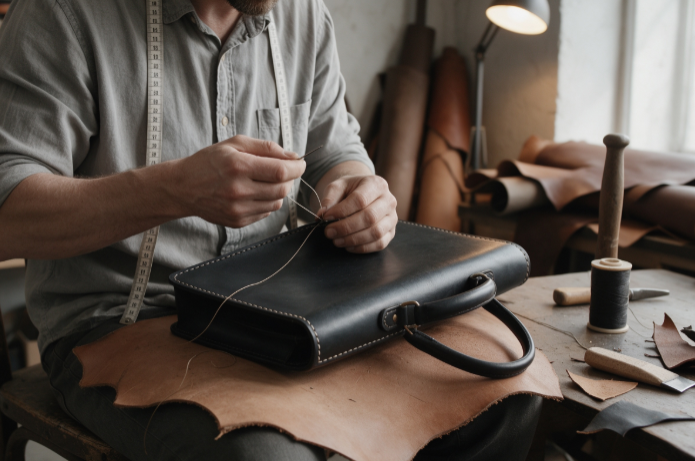
Narrow Tabs, Buckle Loops, and Hardware Terminations: Use Dense Bar Tack
Not every stress point on a custom leather bag needs a wide stitch footprint. Some need the opposite — a short, tight seam that locks a small component in place without eating into surrounding material. That’s bar tack.
Bar tack works wherever a load enters, changes direction, or terminates in a confined space. Narrow tabs, belt loops, strap exits, pocket corners, zipper ends, flap pockets, dungaree straps, side slits, and hardware attachment points — if the component is too small for a box footprint, bar tack is the right choice.
Factory checklists flag the same spots every time: belt loops, pocket openings and corners, the bottom of zip flies, both ends of belt loops, and openings on side slits. On narrow exits like drawcord tabs and strap exits, bar tack keeps pulling force from tearing into base fabric while catching backing material evenly on both sides.
Bar Tack Sizing Benchmarks for Spec Sheets
For narrow tabs and hardware terminations, start with these specs:
-
Length: 9.5–12.7 mm (garment-standard 3/8″–1/2″)
-
Width: 2–3 mm for small components; 4–5 mm on manual machine setups for broader hardware capture
-
Stitch length/density: 0.3–0.5 mm, kept just above zero to avoid jamming
Shops use different methods. Some do a tight zigzag repeated 3–6 times over the same short zone. Others run forward-stitch-then-backstitch passes 3–4 times for denser termination. Some machines have pre-programmed bar tack cycles; others need manual zigzag setup. Either way, reserve dense bar tack for genuine high-stress points with repeated pulling — not low-load decorative seams.
Flap Corners, Locking Zones, and Decorative Stitching Each Need Different Reinforcement
Three zones on a flap-front bag get lumped together in casual spec sheets, and that’s where returns start. Corners take wear from constant handling. Locking zones absorb repeated snap-and-release cycles. Decorative stitching only needs to look clean. Treating all three the same wastes stitch density where it doesn’t matter and skips it where it does.
Flap corners call for corner tacking or an extra row of stitching, not a full bar tack block. A backpack-making standard requires double-stitching each flap corner and adding a dedicated stitch row there, because corners endure more flexing and abrasion than the flat flap body. The opposite short edge — the one your thumb hits every time the flap opens — gets the same double-stitch treatment, but for frequency of contact, not load.
Locking zones are where stitching takes the most stress in leather goods. Snap fasteners and buttonholes at the flap end need angular topstitching plus a crossed-square reinforcement at the opening. This is where bar tack density belongs, not scattered across the whole flap.
Decorative stitching stays decorative unless it’s run through a backing layer. Sashiko-style patterning looks structural but isn’t, unless reinforcement sits underneath it.
Quick Reference
|
Zone |
Recommended Stitch |
|---|---|
|
Flap corners |
Double-stitch / corner tack |
|
Locking zone |
Bar tack / crossed-square |
|
Decorative area |
Topstitch (non-structural) |
Watch bulk, too. Skipping seam allowance trim at corners makes them unmanageable, and interfacing pressed at 135–150°C for 10–16 seconds suits flap bodies, not point-load closures.
Custom Leather Bag Reinforcement Stitching Quick-Reference Table
Print this table. Hand it to your factory contact during sample review, or paste it straight into a spec sheet.
|
Use Case |
Stitch Length / SPI |
Thread |
Notes |
|---|---|---|---|
|
General bag seam |
4–5 mm |
Tex 45–70 / #40–#60 |
Standard for non-load seams |
|
Reinforced stress point |
7–9 SPI |
#69–#92 bonded nylon |
Handles, corners, load points |
|
Heavy structural leather |
6–8 SPI |
#92+ or #207/#277 |
Longer stitch to prevent crowding |
|
Small components / tight edges |
2.5–3.0 mm |
Lighter matching thread |
Only where geometry forces it |
Default baseline for most custom leather bag reinforcement zones: 4–5 mm stitch length, 3 mm edge distance, Tex 45–70 (#69) thread, 7–9 SPI on reinforced areas. Anything looser than that on a strap anchor or hardware point should get flagged on the QC sheet, not passed.
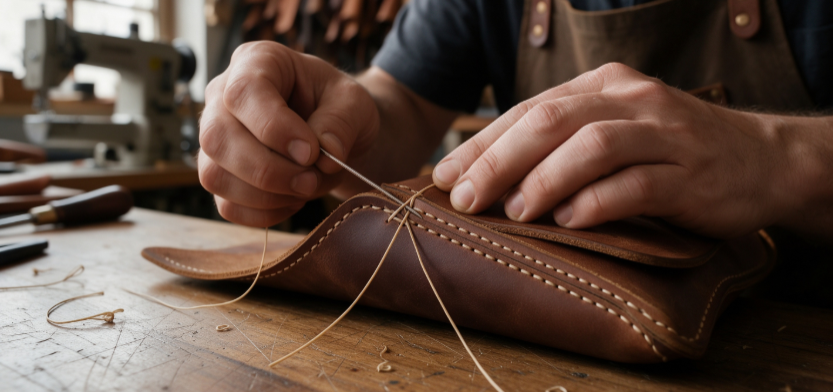
Stitch Density, Needle Spacing, and Thread Parameters for Factory Specifications
Vague specs cause vague results. “Tighten the stitching” means nothing to a factory floor operator. Numbers do. If you’re writing a spec sheet for custom bag manufacturing, every stitching parameter needs a target and a tolerance. A single fixed figure gets ignored the moment a machine drifts out of calibration.
Stitch density by material weight gives you a starting baseline: heavy leather and canvas run 7–10 SPI, medium wovens sit at 10–14 SPI, and stretch materials on trim pieces can go up to 12–18 SPI. Convert that to millimeters with a simple formula: 25.4 mm ÷ SPI = stitch spacing. So 8 SPI works out to roughly 3.2 mm, and 10 SPI lands near 2.54 mm. Spec sheets should state both units, since factory machines display one or the other depending on origin.
Needle spacing matters just as much as density. Double-needle topstitching on strap edges and structural seams typically runs 6–8 mm apart. Edge distance for topstitching stays tight: 1–2 mm from the edge on folded seams, wider at 2–5 mm on flatter panels.
Needle size and thread need to match the leather weight, not just the thread gauge. Nm 100–110 needles pair with heavier bonded thread on structural stitching; lighter Nm 80 needles suit trim work. Thread consumption benchmarks also help catch under-spec runs. Roughly 3 meters of underthread per 1,000 stitches is standard, and a shortfall usually signals skipped passes.
Tension acceptance criteria should be based on the finished seam: balanced tension, no bobbin thread visible on the face side, no puckering along the seam line.
Three On-Site Checks for Leather Goods Stitching Quality
Skip the spec sheet for a minute and put your hands on the sample. Three checks, done in under two minutes, catch most stitching defects before a shipment leaves the factory floor.
Check 1: Count stitches per inch. Structural seams should hit 7–9 SPI, or 8–10 stitches per 25 mm on main body seams. Anything under 6 per 25 mm is a red flag — reject it. Saddlery and travel goods run leaner at 6–7 SPI; finer wallets and card holders tighten up to 8–10 SPI.
Check 2: Flip the seam and check tension. Both sides should show uniform tension — no puckering, looping, sagging, or skipped stitches. Ends need back-tacking, knotting, or heat sealing. Raw cut thread ends are a durability risk waiting to unravel.
Check 3: Pull-test the stress points. Handle bases, D-ring loops, corners, gussets, strap attachments — these need box-X reinforcement and zero movement under a firm pull. Run your thumb along the seam under angled light. Flex it. Uneven spacing or hidden loops show up immediately.
Reject on sight: skipped stitches, loose ends, uneven length, wrong needle-thread match, stitching too close to the edge, or crooked lines.
Factory Failure Cases That Reveal a Wrong Stitch Selection
Defect logs tell a consistent story. Skip stitch shows up as the most common failure across multiple apparel QC studies. One Bangladesh factory case study recorded it at 12.7% of all defects; another production-line audit put it at 26%, alongside broken stitch at 6% and open seams at 11%. Those numbers map onto leather bag rejects.
Root causes repeat across every study:
-
Wrong-side threading or hook/looper timing failure
-
Tension set too loose or too tight
-
Needle-thread mismatch or broken needle
-
Fabric thickness exceeding needle/thread capacity
-
Improper operator handling during high-speed passes
Stitch length errors cause their own failure pattern. Too high SPI jams the machine and ruptures the leather. Too low SPI grins open under load; that is the same seam-opening defect that shows up on strap anchors and hardware terminations six weeks post-delivery.
QC guides flag the same pull-test zones every time: shoulders, pocket corners, center-front closures. On a leather bag, that translates to strap tabs, flap edges, and hardware loops. Pull-test these on every sample. If the seam grins or opens under light tension, the stitch selection is the defect source.
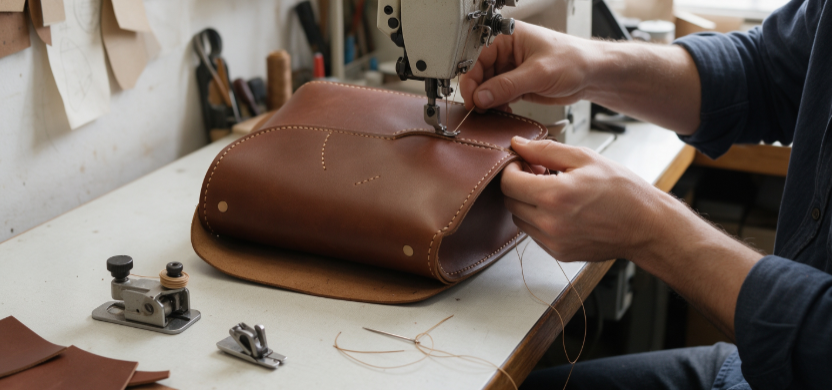
Production Approval Language for Box Stitch and Bar Tack Reinforcement
Vague sign-off language turns a good sample into a bad bulk run. Lock this wording into every PO: “Approve bar tack and box stitch reinforcement only when the submitted sample matches the approved placement, dimensions, stitch count, thread, and backing; any deviation requires written approval before bulk production.”
What Goes on the Spec Sheet
-
Component and placement, with an annotated photo reference
-
Backing layer required: interfacing patch, facing, or inside pocket bag
-
Thread color and spec, plus approved sample reference
-
Whether alternate stitching is conditional or prohibited
Sample Wording for RFQs
-
“All handle attachment points must be bartacked with bonded nylon thread, reverse stitch locked, and box-stitched for a minimum 1.5 inch overlap.”
-
“Stitch density: 8–10 SPI on handles, 6–8 SPI on body seams.”
-
“4 bartacks per tote (two per handle) with bartack width 10–12 mm and minimum 5 stitches per point.”
Bar tacks typically run 5–20 mm, often on fixed machine programs of 28, 36, or 42 stitches, ±2 tolerance. Confirm the tack sits at the actual stress point, not near it, before signing off.