
Every experienced leathercrafter has been there: the pattern looked perfect on paper, the stitching was clean, yet the finished bottom gusset still puckers at the corner, or that graceful S-curve side panel ends up leaning off-axis after molding. It’s a curve construction problem, and it lives in the geometry you drafted long before the awl touched leather.
The art of curve construction in leather tote bags sits at the intersection of fiber mechanics and mathematical precision. Where the hide stretches, how much seam allowance a curve actually needs versus a straight edge, why a quarter-circle base behaves differently from a hand-drawn arc—these details separate a tote that holds its shape for a decade from one that collapses by the second season.
This is a working breakdown of the curve logic behind classic silhouettes, with calculable ratios, graduated seam-allowance methods, and diagnostic fixes for the puckering, warping, and asymmetry that plague even careful makers.
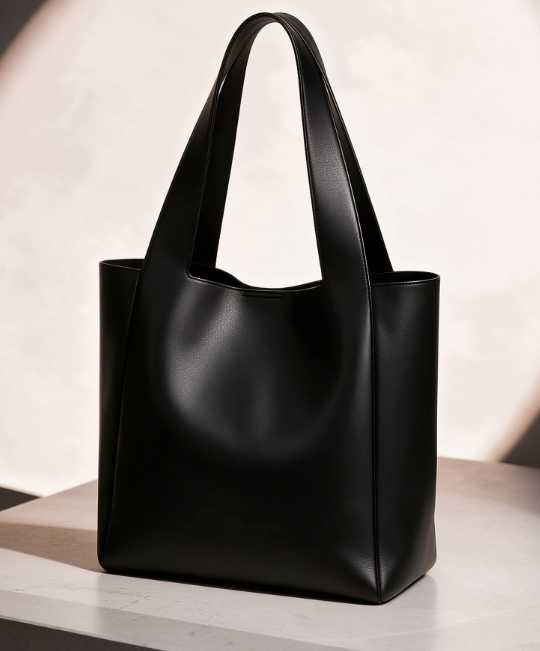
Establish the Curve System From the Finished Silhouette
Work backward from the finished silhouette. That discipline comes from mold-making and CAD surface design, and it applies directly to leather pattern drafting. Start from the target silhouette and reverse-engineer the flat pattern.
Define your sight direction first. In CAD, a silhouette curve captures the visible outline of a surface from a chosen viewing angle, locked to an axis or set interactively. In leathercraft, you decide the angle where the bag’s curve must read correctly—standing upright on a table, held by the handle, or viewed in profile when fully packed. A quarter-circle base that looks perfect from above may sag or twist when the bag bears weight, because the sight direction you drafted for wasn’t the one the leather actually experiences in use.
Boundary handling matters as much as the curve itself. Just as mold workflows close gaps and resolve undercut loops before confirming a parting line, your gusset-to-body seam needs its boundary loops resolved, specifically where the curve meets the base and where it meets the handle attachment, before you commit to a seam allowance. Skip this step and puckering shows up exactly at those junctions.
Map Leather Fiber Direction Before Drafting Curved Panels
Cut a curve blind to fiber direction, and no seam allowance calculation will save it. Leather grain runs roughly head-to-tail along the backbone. That direction resists stretch. Cross-grain runs the opposite way, and it stretches more, bulges more, hangs unevenly under weight.
Test the hide before you draft anything:
-
Flex a scrap in two directions. The smoother bend follows the fiber flow. The direction that wrinkles or wants to fold is cross-grain.
-
Check surface reflection. A continuous, even sheen typically tracks the grain-aligned direction.
Then place your curves accordingly:
-
Handles, base panels, load-bearing gussets: align with the low-stretch backbone direction.
-
Flexible side curves, pocket flaps, non-structural panels: cross-grain works fine, sometimes preferable.
-
Keep grainline arrows parallel across every panel in the set. Inconsistent orientation between panels causes mismatched stretch, which shows up as uneven bulging after a few months of use, not immediately at assembly.
Force a structural curve across cross-grain, and edge wave or puckering will appear right at the seam. This is often mistaken for a stitching error.
Build Bottom Corners With the Quarter-Circle Method
Borrow the corner logic from sheet-metal layout, and bag gusset construction gets a lot more predictable. The same quarter-circle principle that shapes rounded trim corners applies directly to a tote’s base transitions.
The pivot-point method, adapted for leather:
-
Mark your pivot point at the corner where the base meets the side panel.
-
Strike an arc using a fixed radius from that pivot — start with something in the 1½ in to 2¼ in range for a standard tote, adjusting for bag scale.
-
Divide the arc into equal segments (thirds work well for most quarter-circle bottom corners) before transferring the curve to your leather pattern templates.
Why subdivision matters: a single sweeping arc drawn freehand rarely stays true through leather cutting techniques. The material shifts as the blade moves through it. Subdividing the arc into measured points, then connecting them, gives you checkpoints to verify the curve hasn’t drifted mid-cut.
For tote bag base shaping specifically, offset each successive pivot point slightly outward from the last. A sequence like 1½ in, then 3½ in radius, then a 2¼ in final offset builds a compound curve rather than a flat quarter-circle, which reads more naturally where a structural base meets a load-bearing side seam.
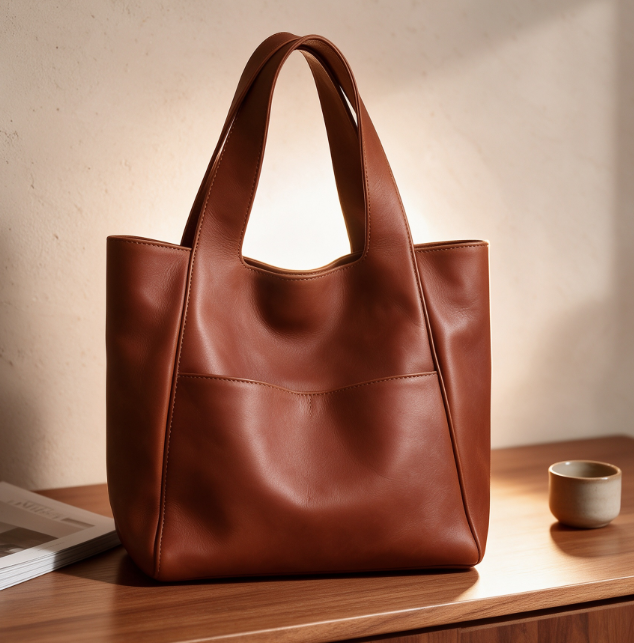
Calculate Gusset Width and Perimeter Before Adding Seam Allowance
A short gusset is the most common failure in bag construction, and it comes from skipping this math. Get the numbers wrong here, and no amount of careful stitching curves later fixes it.
The core formula:
-
Gusset length = perimeter of the body piece (before seam allowance) + 2 × seam allowance at the end joins
-
Gusset width = finished gusset depth + 2 × seam allowance on both sides
Worked example: a 4 in × 6 in panel gives a perimeter of 20 in. Add a 1/2 in seam allowance total at each end join, and the gusset length becomes 21 in. If your finished depth is W, cut the width as W + 1 in when adding 1/2 in per side.
Seam allowance benchmarks to choose from:
-
1/4 in (6 mm) — tight, common on thinner hides
-
3/8 in (10 mm) — standard for most tote-weight leather
-
5/8 in — used deliberately, then trimmed during assembly for control
One handbag pattern draft: finished gusset width of 2 in, plus 5/8 in allowance on all four edges. A U-gusset benchmark runs leaner — 12 mm finished width, 6 mm added per side. Match the perimeter to the seam line, not the flat pattern edge, or the gusset comes up short at the final join.
Use the Golden Curve Ratio for Balanced Tote Proportions
A rectangle scaled at 1:1.618 reads as “correct” to the eye before anyone can explain why. Borrowed from classical design, this ratio gives handbag structural design a repeatable starting point.
Practical face-ratio targets for a golden-proportioned tote:
-
Width 35 cm × height 22 cm, or width 38 cm × height 24 cm — both land near a 1:1.6 face ratio
-
Gusset depth 8–12 cm, kept shallow so the silhouette stays close to the body rather than boxy
-
Handle drop 23–30 cm, sized for comfortable shoulder carry without distorting the top profile
Market comparisons worth checking against your draft:
-
Daily-use tote: 33 × 38 cm
-
Medium retail tote: 35 × 30 cm
-
Golden-ratio styled example: 35 × 38 cm
Keep depth at or below 15 cm. Push past that, and even a mathematically perfect curve starts to read as heavy, which undermines the exact visual lightness the golden proportion was meant to create.
Apply Graduated Seam-Allowance Compensation Along Curves
A flat, parallel seam allowance works fine on a straight edge. On a curve, it distorts the stitching line. Hold your ruler perpendicular to the curve at multiple points along its length, not as one continuous offset. Mark each point individually, then connect them.
Allowance width depends on the curve itself.
6 mm to 1 cm (1/8 in to 3/8 in) is the standard range for most curved seams, balancing ease of sewing with turning clearance. 5 mm or 10 mm are common graduated-ruler settings for marking curves directly on the pattern. 1 inch is used on curved side seams when you want fitting margin for later adjustment.
Handle concave and convex curves differently after stitching. Concave curves (the inward curves at armholes or gusset transitions) get clipped every 1/2 in to 3/4 in, stopping about 1/8 in from the seamline, so the allowance spreads when you turn the piece. Never cut through the stitching. Convex curves (outward bulges, rounded base corners) need V-shaped notches instead of straight clips. Space them tighter on sharp curves, wider on gentle ones — this removes bulk without weakening the seam.
Grade the allowance where layers stack. Cut the outermost allowance longest, tapering inward — roughly 1/4 in for the shortest layer, 1 cm for the longer one. Where a curved seam meets a straight seam, fold the straight seam first, then finish the curve so both allowances sit flat at the junction.
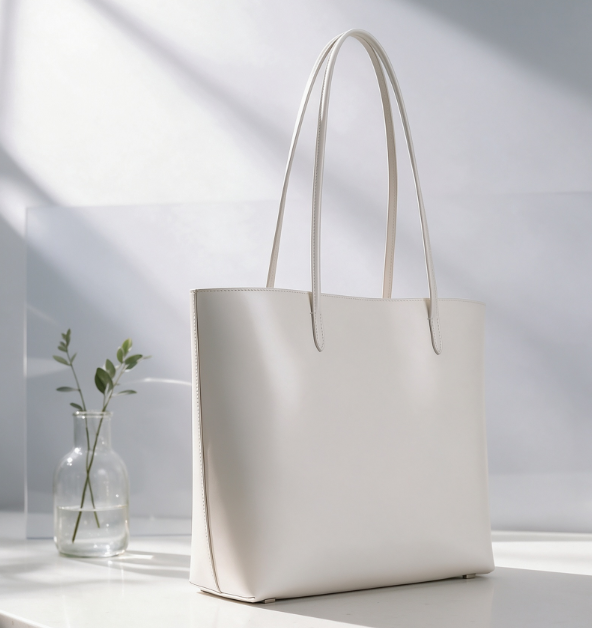
Construct U-Gussets and S-Shaped Side Panels From Stations
Sheet-metal shops don’t trust a single bend to hold a curve. They break the process into stations — decoil, level, form, punch, weld, deburr — and check the part at each stage. The same discipline works for leather when you’re drafting a U-gusset or S-shaped side panel.
Set up stations along the pattern.
-
Station 1 — flatten and true the hide. Uneven tension before cutting distorts every curve that follows.
-
Station 2 — rough-form the U-curve. Mark the gusset’s rounded base first, oversized, before refining.
-
Station 3 — punch reference holes. Small awl holes at 3–4 points along the S-curve keep the stitching line from drifting during assembly.
-
Station 4 — bond, then stitch. Tack with adhesive at each reference point before running the seam with a reinforced backstitch for lasting strength.
-
Station 5 — deburr and burnish. Clean every edge on the S-panel where the curve reverses direction; that’s where fraying starts first.
This checkpoint approach catches asymmetry before it reaches the awl.
Compare Curve Logic in Classic Tote Silhouettes
Not every tote silhouette treats curves the same way. Put a soft-structured design next to a hard-structured one and the difference is obvious. Sandqvist’s CURVE Tote Bag is a useful case study. The brand builds the collection around what it calls “fluid silhouettes” and “considered curves,” with a sculpted, rounded profile. The bag measures 42 x 38 x 18 cm, holds 25–25.5 L, and weighs 800 g. You can carry it on the shoulder, in hand, or crossbody, and it has a front pocket, a zip pocket, and a padded sleeve sized for 16-inch laptops (42 x 34 cm).
Compare that with a structured tote. The Case Logic Invigo Convertible Tote runs 14.4 x 7.1 x 16.9 in, with a laptop compartment of 15.2 x 10.4 x 0.9 in. Its panels are flatter and its corners squared, with minimal curve tolerance built into the pattern.
Soft-curve totes like CURVE trade rigid corner geometry for volume and drape, while structured totes like Invigo hold shape through flat panels and minimal seam curvature. In your own pattern draft, decide which family your silhouette belongs to before you draft a single gusset. This choice applies whether you’re prototyping a recycled leather tote bag or a rigid structured design.
Control Skiving, Molding, and Reinforcement at the Turning Points
A turning point, in strict geometric terms, is where two connected arcs flip orientation — think of the spot where a gusset curve reverses into a base corner. That’s exactly where leather fails first if skiving isn’t controlled.
Skiving rules that hold up in practice:
-
Keep skive width and depth uniform across the whole curve, not just at the tightest bend.
-
Never over-skive. Thinning past the safe point kills tensile strength right where the curve needs it most.
-
Sharpen the knife before every curved run — a dull blade drags and creates uneven feather transitions.
-
Match skive type to what happens next: a folded edge needs a smoother feather than a simple butt seam.
Molding at the turning point:
-
Cut close to the intended contour before heat-molding; excess material shifts unpredictably once heat is applied.
-
Apply heat evenly. Uneven activation leaves stiff patches that resist the curve.
Reinforcement placement:
-
Add backing on the non-contact side, aligned with the direction of maximum stress.
-
Keep reinforcement thinner than the surrounding leather to avoid a visible ridge on the face side.
-
At sharp re-entrant corners — where cracking risk is highest — extend reinforcement diagonally across the joint rather than stopping short at the seam.
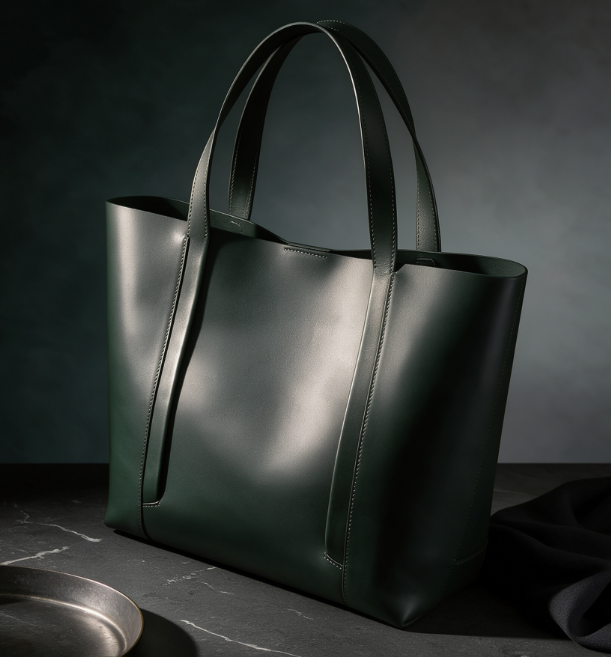
Stitch Curves Without Stretching or Uneven Hole Spacing
Two identical curved panels, punched with the same chisel, can still end up with mismatched holes at the seam. The cause is sequence and pressure.
Punch order fixes most spacing errors
-
Punch the inner curve first. It’s the shorter path, so it sets the true hole count.
-
Divide the outer curve’s length by that same hole count. This keeps stitching curves in leather visually even, even though the outer path is longer.
-
Start each new chisel placement from the last hole made, nesting the prongs into the existing mark instead of eyeballing the next gap.
Chisel selection changes at the tightest point. A two-prong chisel handles the open part of a curve fine. At the tightest radius, switch to a one-tooth tool. Impress first without punching through, then return with the single tooth to finish. This keeps diamond-hole alignment consistent top to bottom.
During stitching, stop every few passes. Re-align the edges by hand instead of pulling leather through the curve. Keep the convex piece uppermost, letting the concave layer ease in, and the seam won’t drift or stretch out of true.
Diagnose and Repair Three Common Curve Failures
Curved panels fail in three predictable ways: puckering, warping, and asymmetry. Each has a distinct signature, each points back to a specific step in the pattern-drafting process, not the stitching.
Puckering shows up right at the seamline where the curve tightens. Gathers under 1/16 in press flat with a bone folder and a bit of glue. Anything beyond 1/8 in means the seam allowance was off — unpick that section and reclip instead of forcing it flat.
Warping appears after molding, when one side of a gusset bows outward under its own tension. The cause is uneven hide stretch during forming, not a stitching error. Re-check fiber direction before recutting.
Asymmetry between mirrored panels comes from inconsistent pivot points during the quarter-circle layout. Re-measure both halves against the same template before assembly — never trust your eye on a curve.
Fix the source: fiber alignment, hide tension, template consistency. Symptom-chasing after the fact rarely holds.
Validate the Final Pattern With a Full-Scale Prototype
Paper never lies flat the way leather does. A curve that looks balanced on a template can still bow, twist, or sag once it’s cut in full-scale material and put under weight. That’s why apparel sampling has gates: proto sample, fit sample, PP sample. The same logic saves a tote pattern from costly bulk-cutting mistakes.
Run your prototype through this checklist:
-
Measure every curve against the original pattern points, not by eye.
-
Test balance and drape on a body or mannequin, not flat on a table.
-
Check where the gusset curve meets the base. This is where structural design tends to reveal itself.
-
Document every deviation. Carry it forward into the next sample instead of fixing it verbally mid-build.
Freeze the pattern only after the prototype confirms it assembles clean and holds its curve under real-world tension.