
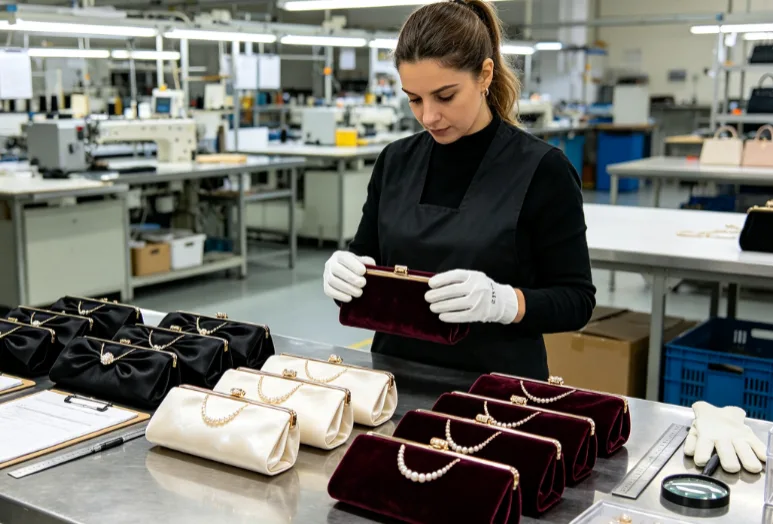
“10 Things To Consider Before Developing A Custom Clutch Bag Collection”
This article covers ten development considerations. Each one is built around specific benchmarks, measurements, and clear criteria — not general advice.
-
Target Customer & Use-Case Quantification — Start by defining primary use, capacity needs, event frequency, and price segment. Get these clear before anything else.
-
Collection Size, Styles & Color Planning — Decide how many SKUs to launch. Pick which silhouettes to prioritize. Then structure your color strategy around that.
-
Dimensions, Ergonomics & Capacity Specs — Cover standard sizing benchmarks, weight targets, and chain drop lengths for each carrying method.
-
Materials, Durability & Sustainability Benchmarks — Look at shell options, lining weight, hardware plating specs, and sustainability certifications.
-
Functional & Interior Layout Decisions — Work through pocket configurations, closure performance standards, and edge finishing requirements.
-
Brand, Price Architecture & Cost Targets — Break down cost ratios, margin structures, and retail price tiering.
-
MOQ, Production Model & Supplier Criteria — Set realistic unit minimums. Map out sample timelines and supplier qualification checkpoints.
-
Technical Design & Documentation (Tech Packs) — Every component your tech pack must include for solid clutch bag sample development.
-
Prototyping, Fit & Quality-Testing Routine — A two-stage sample review process with a physical checklist and a consumer-testing protocol.
-
Assortment Strategy & Launch Planning — Select hero styles, plan drop sequencing, confirm production lead times, and outline photography requirements.
1. Define Your Market Position and Target Customer Before Anything Else
Skipping this step is how brands end up with a beautiful clutch bag that sells to nobody.
Before you choose a material, set an MOQ, or brief a factory, you need a clear answer to one question: who is buying this bag, and why?
Not a vague persona. Not “women aged 25–45 who like fashion.” You need a specific, usable profile. That profile shapes every decision down the line — from hardware finish to price point to packaging.
Define your buyer with hard filters:
-
Occasion type — Is this an everyday mini bag, a wedding-season clutch, or a high-end evening piece for formal events?
-
Price segment — Entry-level retail (under $80), mid-market ($80–$200), or premium/luxury ($200+)?
-
Primary distribution channel — Direct-to-consumer, wholesale boutiques, department stores, or marketplace (Amazon, Etsy)?
-
Geographic focus — US, EU, Middle East, and Southeast Asia each have distinct material, sizing, and compliance preferences.
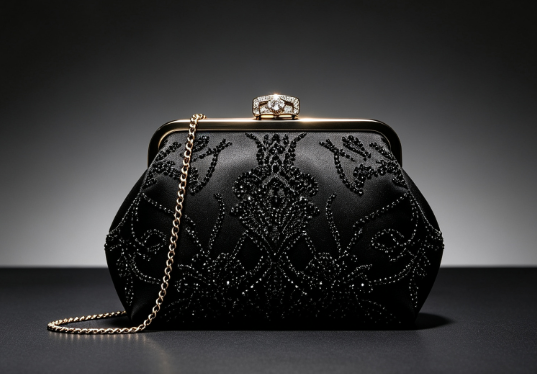
Why this matters at the production stage:
Your target customer drives your clutch bag material selection, hardware quality tier, and lining fabric options. A $60 retail price point cannot support Italian full-grain leather and solid brass closures. A luxury bridal collection cannot be built on PU and zinc alloy. These are hard limits — not preferences.
Get the brief wrong, and your samples come back misaligned. That costs you time, revision rounds, and money. Fix the positioning first, and the production brief becomes much easier to write.
The simplest validation test: Give your factory contact only your customer definition. Can they recommend the right material category and price-appropriate hardware from that alone? If not, your positioning needs more detail.
2. Plan Your Collection Scope and Silhouette Strategy
Too many SKUs kill a first collection. Not because variety is bad — but because factories charge more for complexity, and complexity eats margin.
Before briefing any supplier on custom evening clutch bag production, lock in how many styles, silhouettes, and color variants you’re launching. Get this number firm before anything else moves.
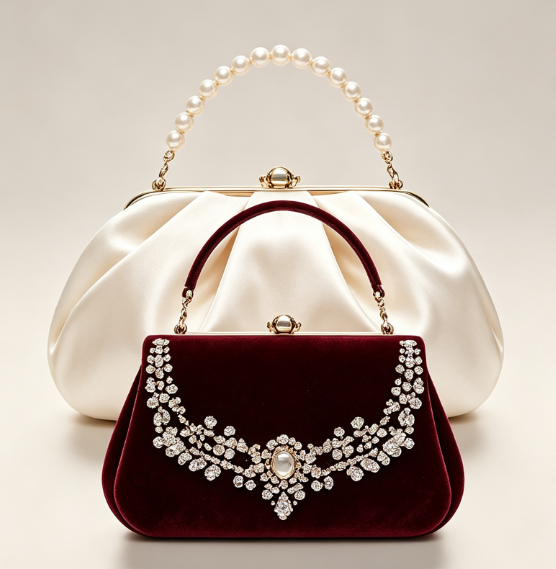
Start with a realistic SKU count:
A focused debut branded clutch bag collection works best at 3–6 core silhouettes, each offered in 2–3 colorways. That puts your launch range at 10–20 SKUs — enough to read market demand without tying up too much production capital.
Structure your silhouette mix using the 60/30/10 rule:
-
60% evergreen shapes — classic envelope clutch, simple frame bag, standard zip pouch. These build steady reorder volume you can count on.
-
30% validated trends — silhouettes with solid sell-through data from similar brands or direct wholesale buyer feedback.
-
10% experimental styles — test these in small runs. Promote or cut them based on real sell-through in the first season.
Set a hard cap on new shapes per drop:
Introduce no more than 2–3 new base patterns per season. New interest should come from material swaps, hardware changes, or colorway updates — not new silhouettes. This keeps your clutch bag sample development cycles manageable and your per-unit costs sharp.
A tight, well-structured silhouette plan speeds up supplier conversations too. Show a factory a clear scope — styles, quantities, and variants all mapped out — and lead times shrink. Sampling costs drop as well.
3. Nail the Functional and Technical Design Requirements
Here’s where most first-time developers lose money: they get the look right, then skip the build specs completely.
A clutch bag isn’t just a visual object. Every closure, interior pocket, and edge finish has a performance requirement behind it. Define those requirements before sampling. Skip that step, and your factory fills the gaps with whatever’s cheapest or fastest to produce.
Lock in these functional specs before your tech pack gets drafted:
-
Closure performance — Magnetic closures must hold under a minimum pull force without popping open on their own. Zippers need smooth operation across at least 500 open-close cycles — no snag, no teeth separation. Write it down. Don’t assume your factory knows.
-
Interior layout — Define pocket count, card slot dimensions, and whether a phone slot is required. A standard smartphone pocket needs at least 78mm width to work as expected. Anything narrower, and the slot becomes decoration.
-
Lining durability — Lining fabric weight matters more than most people expect. Lightweight linings under 80gsm tear at stress points fast. Set a minimum fabric weight and include an abrasion tolerance in your spec sheet.
-
Hardware attachment strength — Chain rings, D-rings, and magnetic snaps all need pull-force minimums. A wrist strap attachment should take at least 15kg of load without the hardware pulling free.
Write every spec as a pass/fail test. “Good quality zipper” tells a factory nothing. “YKK #3 zipper, no snag across 500 cycles” is something you can test and verify. That difference decides whether you get a clean first sample — or burn through three rounds of expensive revisions.
4. Choose the Right Materials and Hardware for Your Price Tier
Material decisions don’t happen in a vacuum — they happen inside a cost structure. That cost structure starts with your retail price.
Most consumer brands use a 3–5× multiplier from landed cost to retail. That multiplier sets your ceiling for every material and hardware decision in your BOM:
-
Economy tier (~3×): $60 retail → max landed cost ~$20
-
Standard tier (~3.5–4×): $60 retail → max landed cost ~$15–17
-
Premium tier (~4–5×): $120 retail → max landed cost ~$24–30
Once you know your landed cost ceiling, split it by component category. For a standard-tier clutch bag, a realistic breakdown looks like this:
-
45–55% on shell material
-
20–25% on hardware (zippers, closures, rings)
-
5–10% on packaging
-
The rest goes to labor and overhead
Match hardware spec to tier:
-
Economy: Non-branded #3 coil zippers ($0.04–$0.08 each), stamped metal pullers, basic zinc-plated closures
-
Standard: Mid-tier #5 coil or metal zippers ($0.10–$0.20), nickel plating, double sliders on main compartments
-
Premium: Branded zippers like YKK #5–#8 ($0.30–$0.70), custom logo pullers ($0.05–$0.15), stainless or powder-coated hardware at 2.0–3.0mm thickness
Check every quote against benchmarks. Collect at least three supplier quotes per hardware component. Compare them at the same unit, incoterm, and order volume. Any quote running more than 10–15% above the tier benchmark needs a fix — negotiate the price or swap the spec. Don’t drop the tier.
Take a premium clutch with a $7.50 hardware budget — that’s 30% of a $25 landed cost. Every line item adds up fast: one branded main zipper at $0.50, four secondary zippers at $0.80 total, six premium buckles at $2.10. You’re already at $3.40, and rivets and logo plates aren’t even counted yet. It’s tight. Map out your hardware costs before sampling. Doing it after just creates problems.
5. Understand OEM vs ODM and Set Clear Private Label Requirements
Suppliers use OEM, ODM, and private label as if they mean the same thing. They don’t. Mix them up, and you risk contract disputes or production delays.
Here’s what each model means for your branded clutch bag collection:
-
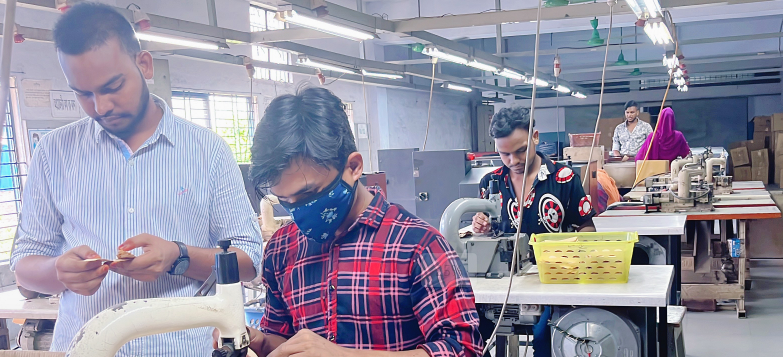
OEM: You provide the full tech pack, materials spec, and QC standards. The factory builds to your spec. You own the design and tooling IP — but only if your contract states this in writing.
-
ODM: The factory holds an existing base construction. You adjust colorways, materials, hardware, and branding within set limits. Lead times fall to 6–10 weeks, compared to 12–18 weeks for a full OEM run.
-
Private label: You pick a ready-made product from the factory’s catalog. Changes are limited to your brand label, packaging, and minor tweaks. MOQs are lowest here — often 50–200 units per SKU — making it a solid entry point for test launches.
Pick your model before you brief any supplier. It drives your sampling rounds, tooling costs, lead time, and IP position. Switching mid-development burns time and money.
Before you send a factory your brief, lock in these four things:
-
Customization boundaries — Colorway changes and logo placement fit within private label or light ODM. New hardware tooling or structural pattern changes put you in OEM territory. That means higher MOQs and longer timelines.
-
IP ownership in writing — For OEM, list what you own: cutting dies, logo hardware, lining patterns. For ODM, push for market exclusivity by region or channel for 12–24 months if the base design stays in the factory’s catalog.
-
Volume and reorder terms — Set your initial SKU quantity, then confirm the repeat-order MOQ. A factory that accepts reorders at 50–60% of your first-order volume gives you real inventory flexibility.
-
Packaging and labeling standards — Define label content, barcode format, and outer carton dimensions before sampling starts. Sorting these out after production adds cost and pushes back your shipment date.
The model you pick shapes your entire fashion accessory private label manufacturing timeline. Get it in writing before a single sample gets cut.
6. Create Detailed Tech Packs to Prevent Costly Miscommunication
A vague brief is the most expensive document you’ll ever send a factory.
Without a complete tech pack, your supplier fills every gap with their own assumptions — cheapest available zipper, default lining weight, whatever closure is in stock. The first sample comes back wrong. You revise. You wait. You pay again. That cycle kills timelines and cuts into margins fast.
A production-ready clutch bag tech pack should run 8–15 pages with 50–100+ individual data points. Drop below that range and you’re setting up a miscommunication before production even starts.
Every tech pack needs these core sections — no exceptions:
-
Cover sheet — Style ID, season, revision date, your contact details
-
Flat sketches — Front and back views at minimum. Add interior views and zipper close-ups for a clutch bag zipper and magnetic closure spec
-
Bill of Materials (BOM) — List every shell fabric, clutch bag lining fabric, hardware piece, label, and packaging item. Include supplier, composition, weight, color code, and unit consumption for each
-
Measurement table — Target dimensions with clear tolerances (e.g., bag width 22cm ±0.5cm)
-
Construction notes — Seam types, stitch density, edge finishing method, and build sequence
-
Colorways — Pantone TCX codes for every component, including thread and hardware plating
-
Label and packaging specs — Brand label dimensions, placement, polybag size, carton configuration
-
Revision log — Version number, date, what changed, and who approved it
On flat sketches: export black-and-white vector drawings at 300 DPI in a multi-page landscape PDF under 25MB. Add notes straight onto the sketch — pocket dimensions, topstitch distances, bartack placements, zipper lengths. Leave nothing open to guessing.
Before you send, run a quick pre-flight check: are all Pantone codes filled in? Does the BOM include consumption per unit? Is the revision date current? Those details are what separate a clean first sample from three rounds of expensive corrections.
7. Build a Structured Sampling and Prototyping Process
Sampling is where your tech pack meets reality — and where most development budgets bleed out without notice.
The problem isn’t bad factories. It’s unstructured sampling. No defined stage gate between prototype and production means every mistake shows up late. Late means expensive.
Run your clutch bag sample development through three fixed stages:
-
Proto sample (T1) — Checks design intent, closure function, and basic construction. Not a final quality check. Think of it as a risk-spotting tool.
-
Pre-production sample (PPS) — Built on the actual production line using bulk materials. This sets the standard your bulk order gets measured against. Get the PPS wrong, and nothing downstream works either.
-
Pre-shipment inspection (PSI) — End-of-line sampling before goods leave the factory. Use AQL 2.5 as your acceptance standard and target under 2% major defects per inspected lot.
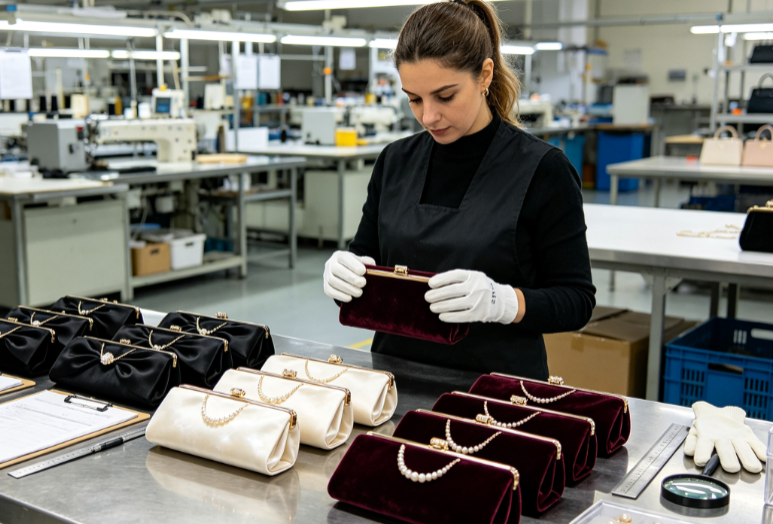
Between PPS and PSI, add a during-production check (DPS) once 20–50% of the order is complete. For a 500-unit run, pull about 50 pieces at that midpoint and inspect them. A closure misalignment or lining defect caught at unit 100 is still fixable. At unit 480, it’s not.
One rule most first-time buyers skip: once your PPS gets approved, designate it as your Golden Sample. Store it alongside your signed approval documents, final tech pack, and inspection criteria. That sample becomes the factory’s production reference — not a showroom piece, but a real benchmark for bulk quality, materials, and process.
Every defect found during sampling needs a root-cause review — not just a quick fix on that one unit. Fix the process. Update your control plan. Then retest.
8. Calculate MOQ, Costing, and Your Pricing Architecture
Most brands negotiate MOQ with their factory before running a single number on their own end. That’s backwards. Your MOQ isn’t something a supplier hands you. It’s a floor you calculate first, then confirm against what the factory can support.
Start with the break-even formula:
MOQ = (Fixed Costs + Variable Costs) ÷ (Selling Price − Variable Cost per Unit)
Here’s a concrete example: fixed costs of $1,000, variable costs of $500, and $10 profit per unit. That gives you an MOQ floor of 150 units. That’s your minimum — not your target.
Build your cost inputs across three categories:
-
Fixed costs — tooling, machine setup, compliance, order processing
-
Variable costs — materials, labor, packaging, freight, fulfillment
-
Holding costs — warehouse, insurance, shrinkage, capital tied up in unsold stock
Next, layer in your pricing by volume tier. A realistic tiered structure looks like this: 200 units at $12.00, 500 units at $10.80, 1,000 units at $9.50. Each tier shifts your margin. Model them all before you commit.
Two hard limits to check before locking in any number:
-
Your landed cost covers product + freight + duties + insurance + compliance. It exceeds 30% of target retail price? Margin pressure gets serious fast.
-
Your MOQ pushes inventory past 2–3 replenishment cycles of expected sell-through? You’re tying up too much cash.
Add a 20–30% safety stock buffer on top of your demand forecast. For new products with no sales history, base your forecast on 30–50% of your optimistic projection — not the ceiling number. That ceiling will burn you.
Run all three checks before locking in your final MOQ and price tiers: break-even units, landed cost ratio, and inventory coverage. Skip one, and the numbers you commit to won’t hold up in practice.
9. Set Quality Standards and Plan Your Compliance Checklist
Quality isn’t a feeling — it’s a number. No measurable standards before production starts? “Good quality” means something different to you, your factory, and your end customer.
Set your AQL thresholds first:
-
Critical defects: AQL = 0.0 — zero tolerance, no exceptions
-
Major defects: AQL = 1.0–2.5 for consumer goods
-
Minor defects: AQL = 4.0
Go beyond defect rates. Define color tolerance using Pantone TCX codes with a ΔE ≤ 2.0 threshold. Also set dimensional tolerances of ±1–2mm on structural specs like bag width and closure placement.
Structure your inspection sequence around four checkpoints:
-
Incoming materials QC — check against approved samples using ANSI/ASQ Z1.4 sampling tables
-
In-process inspection — at 20–30% completion, catch construction errors early before they spread
-
Pre-shipment inspection (PSI) — once ≥80% of goods are packed, run full AQL sampling
-
Container loading supervision — confirm quantities, carton condition, and photo evidence before sealing
Hold your suppliers to documented performance KPIs: on-time delivery ≥97%, complaint rate ≤1% of shipments, and initial response to issues within 24 hours.
Your compliance checklist is a living document. Update it after every major shipment. Update it again any time destination-market regulations change.
10. Evaluate and Select the Right Custom Clutch Bag Manufacturer
The manufacturer you pick doesn’t just build your product. They decide whether your collection hits spec, ships on time, and scales as demand grows.
Start with clutch-specific technical requirements. Before shortlisting anyone, set your dimensional tolerances (±2–3mm on length and height), target weight (≤350g for fabric clutches, ≤500g for structured leather), and closure pull strength (≥1.5–2.0 kgf for magnetic flap closures). These numbers are your minimum entry criteria — not negotiating points.
Shortlist by specialization, not size. Look for factories that list evening bags and clutch handbags as core categories. Custom clutch MOQs run 100–300 units per style, with per-color minimums around 50 units. A factory with a rigid floor of ≥3,000 units isn’t built for pilot runs — cut them from your list.
Verify capacity with real numbers. Ask for clutch output per month (5,000–20,000 units depending on complexity), sampling lead times (10–21 days for new styles), and three recent order records showing promised versus actual ship dates. Keep average delays under five days as your benchmark.
Run a structured micro-batch test. Order 10–25 units before committing to bulk. Stress-test seams under ≥10kg static load for one hour. Cycle closures 200+ times. Measure every dimension against your tech pack. Review their AQL report for that batch against your defined thresholds (AQL 2.5 major, 4.0 minor).
Score every candidate on a weighted scorecard covering:
– Clutch category fit
– Sample quality
– MOQ alignment
– QC system
– Communication speed
– Pricing transparency
Any factory scoring below 4 out of 5 on QC or reliability gets removed — regardless of price.
Sign off on a manufacturer after a successful micro-batch result. Also get references from three to five clients in the handbag segment who can speak to defect handling and repeat performance.