
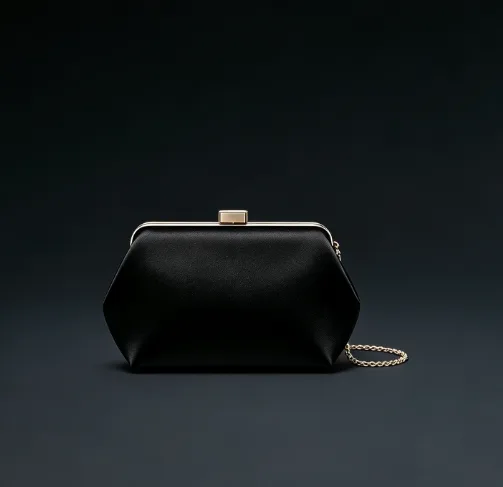
1. Define Your Event Type and Use Case First
The event type shapes everything — the size, the silhouette, the hardware, and what you need to carry.
A black-tie gala and a cocktail reception are both “evening events,” but they call for very different bags. Black-tie dress codes demand a strict clutch: 15–22 cm wide, 8–12 cm high, depth ≤4 cm. A cocktail or semi-formal setting gives you more room on size and embellishment.
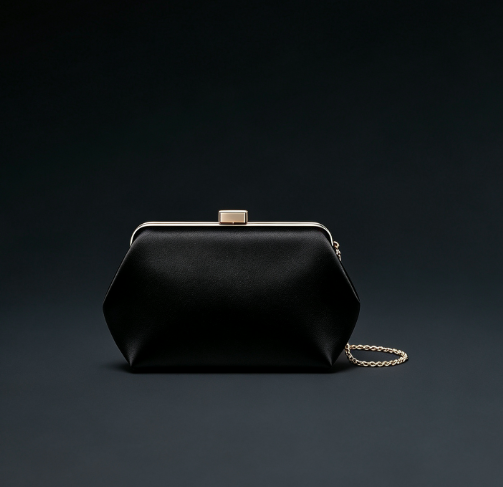
Before you brief any maker, answer these two questions:
-
Where is this bag going? A seated formal dinner means you’ll set the clutch on a table all night. A cocktail party means you’ll be holding it, mingling, managing a glass.
-
What does it need to carry? Lipstick and a card is a very different brief than lipstick, phone, compact, and keys.
Your answers shape the internal layout and set the minimum dimensions. A phone-friendly design needs an internal width of at least 16 cm — that’s a hard spec, not a preference.
Match the use case to the carry style too. A bag you’ll tuck under your arm needs depth under 4 cm. One you’ll hold in hand can go a bit deeper with no discomfort.
Lock down the event type and use case first. Materials, structure, hardware — all of it follows from there.
2. Nail the Size and Proportions: What Fits Inside
Size is where most custom clutch designs go wrong.
The standard evening clutch sits at 18–20 cm wide × 10–12 cm high × 3–4 cm deep. Those numbers exist for a reason. Push past 22–24 cm wide, and the bag stops reading as an evening clutch. It starts looking like a day bag. The formality goes with it.
Width alone doesn’t tell the full story. What matters is whether the usable interior fits what you need to carry.
Run a simple fit check before you finalize dimensions:
-
Lipstick — 3.5 cm diameter, 12–14 cm tall. Fits almost any clutch.
-
Compact — 7–9 cm wide. You need at least 9 cm of interior width with clearance.
-
Credit cards — standard size 8.5 × 5.5 cm. Easy.
-
Smartphone — most modern phones run 7–8 cm wide, 14–16 cm tall. This is your most demanding item. The phone goes in, your minimum usable interior width is 16 cm — that’s a hard spec.
Add a 5–10% clearance rule on top of each object’s dimensions. A phone at 7.5 cm wide needs at least 8–8.5 cm of interior clearance to slide in and out without force. Tight is frustrating. Tight with satin lining? It gets damaged fast.
Depth deserves equal attention. Keep it at or under 4 cm. Go deeper and it sits uncomfortably under the arm. It also throws off the silhouette against a fitted gown.
Before you brief your maker, list your top 4–5 must-carry items with their real dimensions. Check each one against your planned interior measurements. Something doesn’t clear on all three axes — width, height, depth — and you have two choices. The item stays out, or the dimensions change.
3. Choose the Right Silhouette and Structure for Your Dress
The dress silhouette decides what role your clutch plays in the overall look. Getting this pairing wrong is one of the most common mistakes in custom clutch design.
Each dress structure creates its own visual weight and movement. Your clutch needs to counterbalance that — not compete with it.
Match the silhouette to the clutch shape:
-
Mermaid or trumpet — These are curve-forward, body-hugging shapes. Pair them with a sleek, minimal clutch that doesn’t add visual noise at the hip line.
-
Ball gown — The skirt carries a lot of volume. Keep the clutch small and refined. An oversized bag disappears into the drama of the dress.
-
A-line — This is the most forgiving pairing. A structured or soft clutch both work well here.
-
Sheath/column — Clean lines call for a sharp, structured clutch that matches the precision of the dress shape.
-
Empire waist — The focus sits on the upper body. A delicate, understated clutch keeps attention right where the dress puts it.
One practical rule: a dress covered in embellishments calls for a quieter clutch. A simple gown gives you room to let the bag make a statement. The clutch supports the look — it never overpowers it.
4. Select Materials That Match the Occasion’s Formality Level
Fabric formality follows one simple rule: the smoother and shinier the material, the more formal it looks. Visible texture — think tweed, heavy canvas, or pebbled leather — reads as casual. Hold that rule in mind as you pick materials for your clutch. Most decisions will fall into place.
The formality ladder for evening clutch materials:
-
Black tie / white tie / formal gala — Silk satin, fine silk, velvet, and polished metals are your go-to options. High sheen is expected. Crystal or fine lace detailing fits well here and is often a strong choice.
-
Cocktail / semi-formal evening — Silk crepe, high-quality chiffon, and structured satin blends all work. These materials carry some sheen, but with less intensity than full black-tie options.
-
Smart casual evening — Matte leathers and refined textured fabrics are acceptable here. Still polished, but not high-gloss.
What to avoid at formal and semi-formal levels:
-
Pebbled leather, canvas, or any fabric with a heavy, visible weave
-
Materials that look soft and unstructured — they read casual regardless of color
-
Dull hardware finishes that clash with the fabric’s sheen level
One quick check before you finalize: hold your material choice next to your outfit fabric. Your gown is floor-length silk satin? A matte canvas clutch will stick out right away. The clutch material should sit at the same formality tier as the dress — or one step below it, never above.
For black-tie events, silk satin and velvet are the benchmark. For cocktail occasions, silk crepe or quality chiffon gives you flexibility without making the bag feel overdressed.
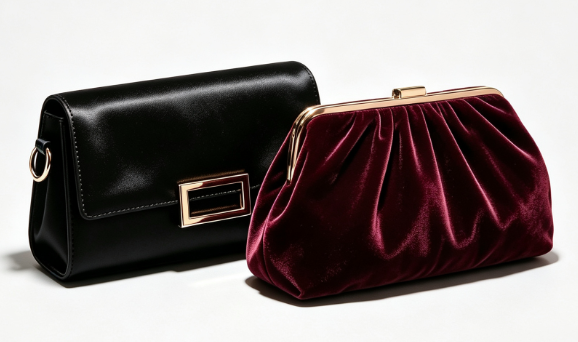
5. Plan Your Color Strategy: Neutral Anchor vs. Statement Piece
Color is the decision that ties your clutch to your outfit — or breaks it.
The 60–30–10 rule gives you a solid starting point. 60% of your look should be a neutral anchor — your gown, shoes, or coat. A secondary supporting color takes 30%. Your statement accent — the bag, a scarf, a bold lip — fills the remaining 10%. That last 10% is where your clutch usually lives.
Two roles your clutch can play:
-
Neutral anchor — Black, navy, champagne, nude, or cream. The clutch blends into the look and lets the outfit do the work. This is the safer, more versatile choice.
-
Statement piece — A jewel tone, a bold metallic, or a saturated color that draws the eye. Go this route and use the Rule of One: every other element in the outfit stays neutral or muted. One loud piece. That’s it.
The check before you commit to a color: Count the visible areas in your outfit — gown, shoes, outerwear, jewelry. Note what’s already pulling focus. Your dress is already the statement? Your clutch should anchor. Your outfit is all neutral? The clutch gets its moment.
Keep your total palette to three color families max: one dominant neutral, one supporting tone, one accent. Add more than three and the look starts to fight itself.
6. Coordinate with Your Full Look: Shoes, Jewelry, and Outfit Cohesion
Your clutch doesn’t stand alone — it’s part of a complete look. That look either comes together or it falls apart.
One rule fixes most coordination problems: match your bag and shoes, then keep all metal hardware in one finish (all gold or all silver). That one move pulls scattered looks together faster than anything else.
From there, use the sandwich rule — let your shoes echo one other accessory. That could be your clutch, your earrings, or a bracelet. One repeat. Not three.
Keep strong accent colors to two items maximum. A bold clutch plus statement earrings is the limit. Carrying a jewel-tone bag and wearing bright shoes at the same time? One of those needs to go neutral.
Scale matters too. Statement shoes call for quieter jewelry — small studs, a thin chain. A large necklace means the shoes and bag should step back. Pick one focal point per look. Everything else supports it.
Quick cohesion check before you leave:
– Do your shoes echo at least one other element in color or texture?
– Are there two or fewer strong accents across shoes, bag, and jewelry?
– Is your metal finish consistent — or at least dominant throughout?
All three are yes? The look holds.
7. Hardware and Closure Details That Affect Both Function and Finish
The clasp you choose does more than close your bag — it sets the tone for the entire piece.
Hardware lives at the crossroads of function and looks. A frame lock that pops open mid-dinner fails at its job. A turn-lock finished in brushed silver on a gold-accented gown fails in finish. Both failures cost you.
Closure types and what they signal:
-
Frame lock (kiss-lock) — Vintage and refined. Opens with two-handed pressure, snaps shut with a satisfying click. It sits well on structured clutches and gives them a polished, classic feel.
-
Turn-lock / twist closure — Clean, minimal, and secure. A strong pick for modern silhouettes.
-
Magnetic snap — Fast and easy to use, but go with a heavy-duty magnet (minimum 3 kg pull strength). A weak magnetic snap on an evening bag is a risk you don’t want to take.
-
Push-lock / press stud — Secure and low-profile. Not the flashiest option, but it holds up under pressure.
The finish coordination rule: Every piece of hardware on the clutch — closure, chain rings, feet, zipper pull — needs to share the same metal finish. All gold. All silver. All gunmetal. Mix the finishes and the bag looks unfinished, not styled.
Set a durability minimum. Before you approve any hardware, ask for a cycle test baseline of 3,000 open-close cycles. That’s your floor. Good evening hardware clears that number with no loosening, no scratching, and no finish loss.
One detail that gets skipped: check where sharp hardware elements sit. Point rivets, chain connectors, and exposed clasps outward — away from your body and away from delicate fabrics like satin or chiffon. One rough edge pressing against silk all night leaves a mark you won’t miss.
8. Design the Interior Lining and Layout for Real-World Use
Most people ignore the interior of a clutch — until something goes wrong. A card that won’t slide out. A lining that snags your lipstick. A pocket that collapses the second you let go.
Good interior design starts with the lining material. For an evening clutch, a smooth, dense woven fabric is non-negotiable. It needs to resist abrasion — aim for ≥20,000 Martindale cycles at minimum for any lining that sees regular use. Satin looks beautiful but scratches fast. Brushed microfiber or fine twill gives you durability without losing that soft feel.
Layout by frequency of access:
-
Most-used items — lipstick, cards, phone — need to be reachable within seconds. Don’t bury them under everything else
-
Card slots — size them at 8.5 × 5.5 cm with a firm but easy pull
-
Main compartment — leave 70–80% usable volume, not packed tight. You need room to grab items without a struggle
Keep the zoning simple: one main pocket, one slim divider or card section. Add more than that, and the structure starts eating into the space you actually use.
One detail worth specifying upfront: lining color should contrast with the bag’s interior walls. A dark lining inside a dark bag makes everything hard to spot — especially at a dim reception table.
9. Consider Carry Options and Comfort for Long Events
A beautiful clutch that becomes a burden by hour three isn’t doing its job.
Evening events run long — dinners stretch past dessert, receptions keep going. How you carry your clutch through all of that matters as much as how it looks.
Three carry positions to think through:
-
Hand carry — maximum control, but your hand is never free. Fine for short arrival moments, tiring across a full evening.
-
Arm/elbow tuck — the classic evening clutch hold. It works for short stretches, but movement gets restricted. Depth must stay under 4 cm or it digs in.
-
Detachable shoulder strap — the practical upgrade. Clips off for a clean look, goes back on when your hands need to be free.
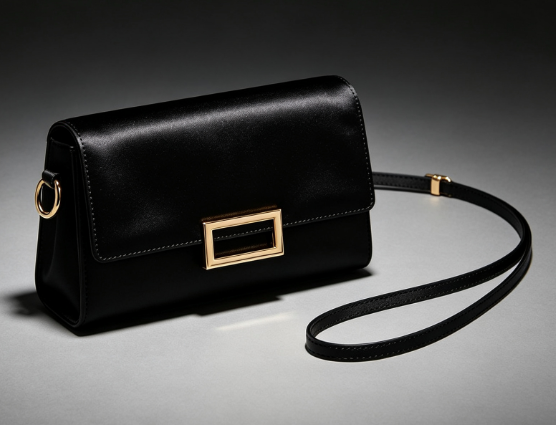
Run a comfort test before the event. Wear the clutch for at least 60 minutes. Mix in sitting, standing, and moving around. Any pressure point or awkward bulk shows up in that window — not mid-event when you can’t fix it.
One detail people skip: sharp hardware placement. Rivets and chain connectors facing inward press against your wrist or torso all night. Orient them outward.
Build in the strap option from the start. Adding it later means a visible attachment point the bag was never designed for.
10. Set Your Budget and Understand What Drives Custom Production Cost
Budget talks get uncomfortable fast. You’re mid-design, already attached to a specific fabric or closure — and then cost becomes an issue. The best custom clutch makers will tell you the same thing: budget isn’t something you add at the end. It’s a design input. Set it at the start.
Custom production cost breaks down into four core buckets: materials, labor and overhead, tooling and setup, and finishing and compliance. Each one shifts based on the choices you make earlier in this list.
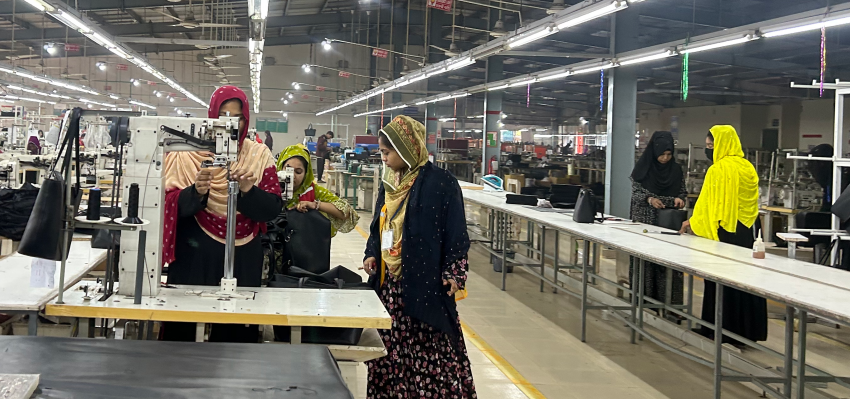
Material is the largest single cost driver. For an evening clutch, your material choice — genuine leather vs. satin vs. high-quality PU — can move the per-unit cost by a wide margin. Leather grades alone vary by 2–3× in price. Add embellishments, crystal hardware, or specialty closures, and those line items stack up fast.
Volume is the other major lever. Production costs drop as order quantities rise. A maker producing 50 units spreads setup time and material waste across far fewer pieces than one running 500. That gap often lands at 20–40% cost difference per unit between small runs and mid-size orders.
Two numbers to lock in before you brief anyone:
-
Your target unit cost — work backwards from your total spend limit
-
Your minimum acceptable quality standard — cheaper materials and hardware cut cost, but they also cut the durability benchmarks from section 4 (3,000 open-close cycle minimum)
Where custom clutch budgets tend to leak:
-
Underestimating secondary finishing — hand-stitching, edge painting, and hardware polishing each add labor time
-
Ignoring scrap allowance — build in a 1–2% yield buffer for lining cuts, hardware defects, and material inconsistencies
-
Skipping packaging — a proper dust bag and branded box can add $0.50–$2.00 per unit depending on print quality
One practical move: get a rough quote on materials and labor before you lock in embellishment choices. The frame lock you want might cost three times more than a magnetic snap. That’s a tradeoff worth making with full awareness — not something you discover after the sample is built.
Set your budget band first. Then design within it.