Ever looked at your favorite leather bag and wondered how to keep it looking brand new, year after year? I know cleaning leather can seem a bit difficult. Based on my experience learned from the best bag factory, though, it’s actually quite simple if you follow the right steps and use a few basic tools. Let’s look at the steps together:
Step 1: Gather Essential Materials

Before cleaning leather bags, it’s helpful to lay out all supplies to make the process smoother. Two soft white cloths are used: one for wiping off dirt and the other for buffing. After learning the hard way not to use colored clothes (one left dye marks on a cream bag), it’s become a rule to stick to white.
The cleaning process begins with a gentle leather cleaner from a local brand. If it runs out, a mixture of a few drops of baby soap with warm water in a small bowl works as an alternative. The cloth is dipped into the mixture and wrung out until just damp—never wet—so moisture can be controlled. For interiors, different tools are used. Lint rollers work great on fabric linings, especially after busy days when crumbs have accumulated. For hard-to-reach corners, a soft, dry brush is helpful—once, it even saved a dusty briefcase that fell off a bike.
After cleaning, leather conditioner is always applied, especially in dry winters. This step keeps the leather soft and shiny, restoring dull areas and preventing cracks. For stains, a small kit is kept handy. Ink stains are dabbed with rubbing alcohol on a cotton swab, while grease spots are treated by sprinkling baking soda and leaving it overnight. A trick passed down from grandma—lemon juice and cream of tartar—has proven effective for mystery marks on light leather, but it’s always removed quickly to avoid damage.
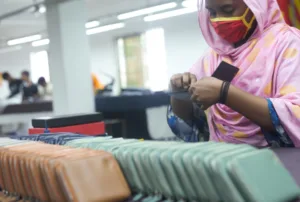
These tools and steps have become a ritual. Each wipe and polish brings the custom bag manufacturer back to life, ensuring they remain beautiful for longer. A little care truly goes a long way.
Final Checklist

1. 2–3 soft, clean white cloths
2. 1 bowl of warm water
3. Leather cleaner or gentle soap
4. Lint roller
5. Soft dry brush
6. Leather bag conditioner or balm
7. Appropriate stain removers based on your specific needs
Tip: Leather experts suggest cleaning and conditioning your bag every few months, especially in dry conditions. Always spot-test any cleaner or oil in a discreet area before full application to protect your leather bag.
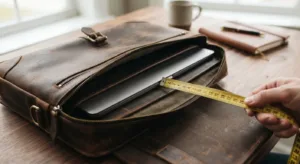
Step 2: Prepare Your Leather Bag

Getting ready properly before cleaning is really important. Good prep makes a big difference in how your bag turns out. Now, take out the bag you need to wash and follow the steps below.
| Step | Description |
|---|---|
| Empty Your Bag Completely |
Remove all personal items, including wallets, keys, and makeup. Check every pocket for small items and crumbs. Shake the leather bag upside down to clear loose debris. If the bag has a fabric lining, turn it inside out and shake off any dust or dirt. For stubborn debris, use a soft brush or a mini vacuum with a brush attachment. |
| Detach Removable Components |
Take off any detachable straps, inner pouches, or decorative charms. This allows you to clean every part of the leather bag thoroughly. |
| Remove Surface Dust and Dirt |
Use a soft, dry microfiber cloth to gently wipe the exterior. Microfiber cloths pick up dust without scratching the leather. For dirt in creases or seams, use a soft-bristled brush or a dedicated leather brush. |
| Identify Your Leather Type |
Look for labels that describe the leather type, such as full-grain, top-grain, genuine, or suede. Knowing the leather type helps you choose the safest cleaning method, as recommended by the Leather Research Laboratory at the University of Cincinnati. |
| Inspect for Stains or Problem Areas |
Before deep cleaning, check for watermarks, oil stains, or ink spots. Identify these areas early so you can treat them with special products or spot-cleaning techniques. |
First, the bag is emptied completely—much like shaking sand out of shoes after a day at the beach. It’s surprising what turns up; once, an old lipstick and some coins were found hidden deep inside. Then, any straps or loose parts are removed. This step not only saves time but also prevents metal pieces from scratching the leather, a lesson learned from past experience.
For dusting, microfiber cloths work best. The outside is wiped gently in circular motions, and even after just a few swipes, the leather appears noticeably richer. To reach tight spots and seams, a soft-bristled brush—such as an old, clean makeup brush—comes in handy. It effortlessly sweeps dust from corners, leaving the bag feeling fresh and well-cared for.
Before any deeper cleaning begins, it’s important to check the leather type. Once, the wrong conditioner was used on suede, which resulted in unsightly spots. Since then, the habit of reviewing the maker’s care instructions has become a must.
Next, the entire bag is carefully inspected for stains or worn areas. Catching these issues early makes treatment much easier. For instance, noticing a light water stain during cleaning allowed immediate action, preventing it from setting permanently. Had it gone unnoticed, removal later would have been far more difficult.
Following this routine keeps bags looking their best while allowing their unique character to shine through. Over time, each one tells a story, aging gracefully with every use.
Tip: Condition your leather every few months to keep it soft and prevent cracking. Think of it as moisturizer for your bag.
Step 3: Test Cleaning Solution

Before using any cleaning solution on your leather bag, it’s crucial to perform a patch test. This helps ensure there’s no discoloration or damage.
Sunteam Best Bag Factory Common DIY Cleaning Agents to Test
Warm water and mild soap
Lemon juice and cream of tartar (for light leather)
Baking soda
Cornstarch (for greasy spots)
For a patch test, a hidden spot is always chosen first—such as the inner seam or bottom corner. A small amount of cleaner is applied to a soft cloth, never directly onto the leather. By gently dabbing and rubbing, it’s possible to observe how the leather reacts without risking visible damage.
After waiting 10 to 15 minutes, the area is checked. If the leather remains smooth and unchanged, the cleaner is considered safe to use. Though simple, this precautionary step can be essential, often saving bags from potential damage and helping them stay in excellent condition after cleaning.
Important Notes: – Over 60% of leather issues happen because users skip the patch test. – Avoid using harsh chemicals or products not made specifically for leather. – Be careful with alcohol-based spot treatments: they can dry out the leather. – Always check the manufacturer’s label for compatibility. If you notice any discoloration, stickiness, or texture change, do not use the cleaning solution. Instead, look for a specialized leather cleaner or consult a professional.
Step 4: Clean the Exterior

Start by removing any loose dirt or dust from your leather bag. Use a soft, dry microfiber cloth or a soft-bristled brush. This gentle cleaning helps avoid scratches and prepares the leather for deeper cleaning.
Next, apply a light mist of leather cleaner specifically designed for bags. Spray it onto a clean cloth or directly on the leather—just be careful not to oversaturate the material. If you don’t have a commercial cleaner, mix mild soap with warm water. Avoid using harsh chemicals or excess water, as they can damage the leather bag(such as a tote bag, backpack).
Wipe the bag’s exterior using slow, circular motions. This technique helps lift dirt and grime effectively. After cleaning, take a separate clean microfiber cloth to remove any leftover cleaner residue. Make sure it doesn’t dry on the surface, as that can leave marks.
Avoid soaking leather: Use a damp (not wet) cloth to prevent warping and water stains.
Dust the interior: For bag interiors without liners, use a lint roller or a slightly damp cloth to remove dust.
Treat stubborn stains: Identify the stain type before treatment. For oil stains, sprinkle baking soda to absorb the oil. For ink stains, dab a cloth with rubbing alcohol. Always spot-test any solution on a hidden area first.
After cleaning your bag, allow it to air-dry in a well-ventilated room, away from direct sunlight. This helps prevent cracking or fading. Use a soft, dry cloth to blot any moisture right away.
Tip: Clean your leather bag every few months, spot-clean as needed, and apply leather conditioner every 3–4 months to maintain its flexibility and appearance.
Step 5: Dry and Condition

Over the years, it’s become clear that proper drying and conditioning—just like choosing the right bag OEM/ODM service—are essential for both the appearance and longevity of leather bags. A past attempt to speed up drying with a hairdryer once ruined a satchel, making it a hard-earned lesson. Now, bags are left to air dry naturally in a cool, dry spot, well away from direct sunlight. Placing them on windowsills is also avoided, as prolonged exposure can lead to fading.
After gently blotting away excess water with a microfiber cloth, the bag is stuffed with paper or a towel to help maintain its shape. Skipping this step once resulted in a misshapen bag, so now it’s a non-negotiable part of the routine.
While the leather is still slightly damp, a small amount of conditioner is applied in circular motions. This not only softens the leather but also restores its natural shine. A thin layer is sufficient to avoid a greasy residue, and any excess is gently buffed off. After resting overnight, the leather feels nourished and resilient.
If any areas remain stiff, a touch more conditioner is added with care. With consistent upkeep, leather bags begin to age gracefully, developing rich character over time—without cracking or sagging. This thoughtful routine ensures each bag stays beautiful, functional, and ready for whatever the day brings.
Key Tips
1. Always maintain the bag’s shape throughout the drying and conditioning process. Avoid folding or compressing it to keep it aesthetically pleasing and structurally sound.
2. Leather care specialists report that proper conditioning can prevent up to 50% of premature drying and cracking in handbags, especially after cleaning or water exposure.
Step 6: Maintain and Store the Bag Properly
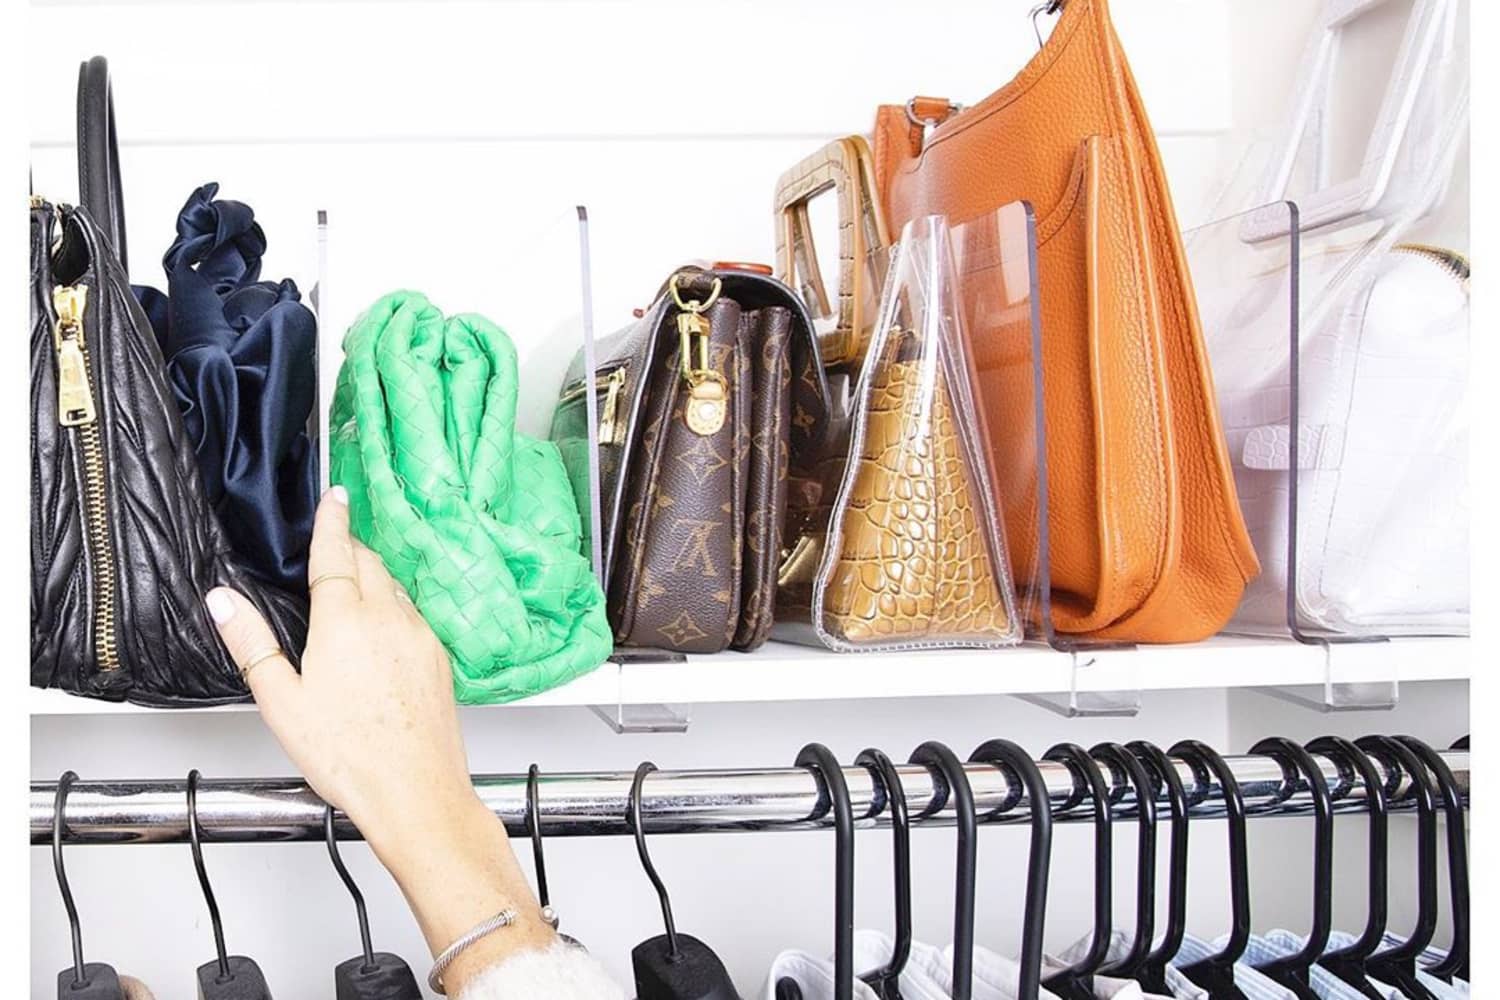
A little attention goes a long way in keeping custom leather bags beautiful. For instance, storing a favorite tan satchel near a sunny window once led to cracking—a valuable lesson. Since then, bags are always kept in a cool, dry closet, far from heat and sunlight, as excessive warmth can quickly fade colors and dry out the leather.
Dust is another concern. To protect bags, soft dust covers or old cotton pillowcases are now used. A previous attempt to store a tote in a plastic bag resulted in mildew, reinforcing the importance of breathable storage. To control humidity, a hygrometer is used to maintain levels around 45%—a simple step that has helped prevent damage.
Maintaining a bag’s shape is equally important, especially for structured designs. Acid-free tissue paper or scarves are used for gentle stuffing, taking care never to overfill. Additionally, zippers and clasps are left undone to reduce unnecessary strain. For added moisture control, silica gel packets are placed inside valuable bags and refreshed every few months.
If a bag gets wet, it’s gently blotted with a towel and left to air dry—never near heaters. Rushing the drying process can ruin the leather’s texture and finish. In the end, every mark and patina becomes part of the bag’s unique story, and with consistent care, they age gracefully and remain timeless companions.
At Sunteam, we share expert leather care tips and more to help keep your bags in great condition. Join us for professional insights and let us guide you in preserving your bags for years to come.
Usage Tips

Avoid hanging: Only hang bags designed for suspension; otherwise, lay them flat to prevent stretching.
Rotate use: Allow each leather bag to air out between uses to extend its lifespan.
By adhering to these maintenance and storage practices, you can significantly reduce the risk of damage and prolong the life of your leather bags.
Summary
Caring for custom leather bags is more than just a chore—it’s about building a connection with them. Every time bags are cleaned and maintained, it feels like spending time with a trusted friend. These everyday companions carry life’s essentials, and when looking at a collection, it becomes clear they represent more than just items. They hold stories, memories, and the effort poured into preserving them. With consistent care and attention, leather bags don’t just last longer—they improve over time, gradually developing a unique character that reflects individual use and experience.
At Sunteam, we believe in the longevity and beauty of leather products. We regularly share expert tips on leather care, bag maintenance, and more professional insights to help your bags stand the test of time. Join us, and discover how Sunteam can assist you in keeping your bags looking their best while enhancing their charm as they age. Our commitment to craftsmanship and quality ensures that your leather bags will not only serve you well but will continue to evolve beautifully.